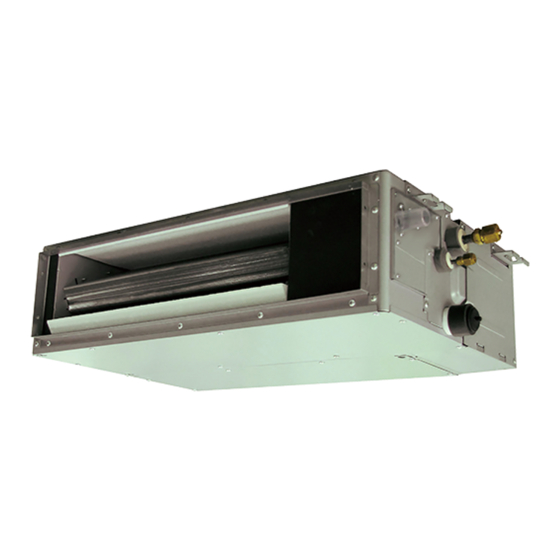
AirStage ARXK18GCLH Manual de instalación - Página 9
Navegue en línea o descargue pdf Manual de instalación para Aire acondicionado AirStage ARXK18GCLH. AirStage ARXK18GCLH 19 páginas. Indoor unit (duct type)

1 Drain hose
Fasten the Hose band 2 at the position where
horizontal against earth (ground).
The Hose band 2 must be positioned at the right
side of the Drain hose 1 as in the fi gure.
(2) Be sure to connect Drain pipe with adhesive (polyvinyl chloride) so that there is no
leakage.
Do not connect to the Drain hole with adhesive. Using adhesive may cause damage
and water leaks.
(3) After installing the Drain hose 1 , check if the drainage is smooth.
To prevent excessive force on Drain hose 1 , avoid bends or twists. (To bend or twist
may cause water leaks.)
(4) After checking for drainage, attach the Drain hose insulation B 3 to insulate, following
the instructions as in the fi gures.
To avoid space with Drain hose 1 and Hose band 2 , press fi rmly the Drain hose
insulation B 3 .
Ensure there is
no space.
• STEP1 - STEP3
Butt the insulation
against the unit.
Press fi rmly
2 Hose band
Applying
Joint pipe (Lo-
area of
cally purchased)
adhesive
Drain pipe (VP25)
(Locally purchased)
4 mm or less
CAUTION
CAUTION
3 Drain hose insulation B
(Accessories)
Unit
Slit
STEP 1
Press fi rmly
Slit
Press fi rmly
STEP 2
Slit
Press fi rmly
Roll the in-
sulation over
the joint.
• FINISH
Check that there is no gap between the unit and the drain hose insulation.
• When drain pump is used.
• When drain pump is not used. (Natural drainage)
Note:
Check for drainage (When drain pump is used)
Pour about 1 liter of water from the position shown in the diagram or from
the airfl ow outlet to the dew tray. Check for any abnormalities such as
strange noises and whether the drain pump functions normally.
Note:
Check for drainage (When drain pump is not used)
Pour about 1 liter of water from the airfl ow outlet to the dew tray. Check for
any abnormalities such as strange noises.
Make sure the drain water is properly drained.
Press fi rmly
STEP 3
Do not cover the
panel window.
Do not cover the
control box cover.
CAUTION
En-8
