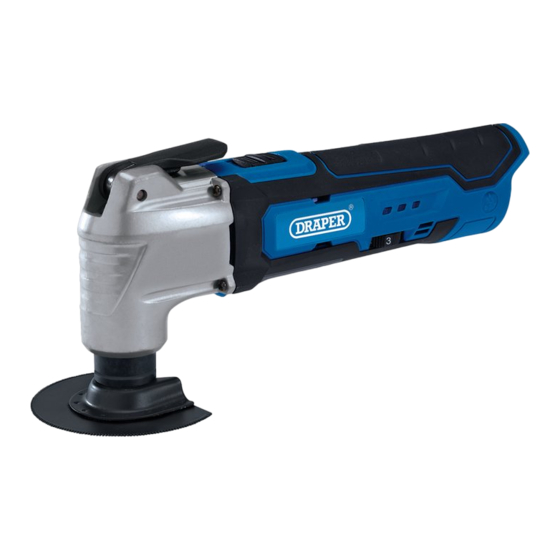
Draper 19392 Manual - Página 13
Navegue en línea o descargue pdf Manual para Herramienta eléctrica Draper 19392. Draper 19392 20 páginas. 12v oscillating multi-tool

7. Preparing the Multi-tool
7.3 Fitting Accessories to the Tool Flange
Important: ONLY use accessories intended for this tool
as supplied by Draper Tools. Other accessories may not
fit correctly and may damage the tool or cause injury.
(2)
(1)
Fig.
3
1. Lift the lock lever (2) fully to open the tool flange (1).
Fig.
4
2. Slide the required accessory into the opening in the
tool flange, ensuring that the flange pins sit
comfortably in the accessory frame.
Important: If used for a sanding operation, the
sanding pad (F) must be installed and a sanding paper
sheet attached using the hook and loop fixing,
ensuring that the shape of each piece and the dust
extraction holes are correctly aligned.
3. Press the lock lever down fully to secure the
accessory in place.
7.4 The LED Lamp
WARNING! DO NOT look directly into the lamp or
direct it towards others.
(3)
Fig.
5
The LED lamp (3) illuminates automatically when the tool
is switched on and goes out when the tool is switched off.
If the tool overheats, the lamp will flash for approximately
10 seconds and the drill will stop automatically. When
this occurs, release the trigger and allow the drill to cool.
7.5 The Battery Level Indicators
Fig.
6
The battery level indicators (6) illuminate automatically
for approximately five seconds when the tool is switched
on and may show the following:
• Three lights on: The battery is fully charged.
• Two lights on: The battery is less than 60% charged.
• One light on: The battery is less than 30% charged.
• No lights on: The battery is less than 10% charged
and the tool cannot be used.
Important: Battery levels shown by the indicators are an
approximation only and may vary subject to
environmental conditions.
– 13 –
EN
(6)
