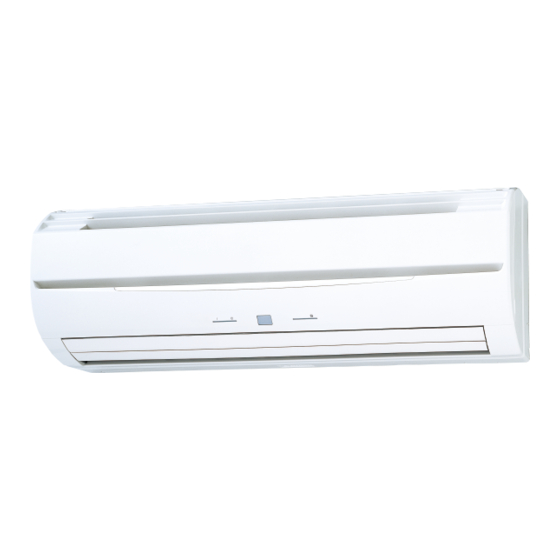
AirStage ASYA14GACH Manual de instalación - Página 13
Navegue en línea o descargue pdf Manual de instalación para Aire acondicionado AirStage ASYA14GACH. AirStage ASYA14GACH 15 páginas. Indoor unit (wall mounted type)
También para AirStage ASYA14GACH: Manual de instrucciones (6 páginas)

● When function setting is "Forced stop" mode.
[In the case of "Edge" input]
Connector
Ch1 of CNA01 or CNA02
[In the case of "Pulse" input]
Connector
Ch1
CNA01 or CNA02
Ch2
* When the forced stop is triggered, indoor unit stops and Operation/Stop operation by a
remote controller is restricted.
* When forced stop function is used with forming a remote controller group, connect the
same equipment to each indoor unit within the group.
• Selection method of functions
"Operation/Stop" mode or "Emergency stop" mode, "Forced stop" mode can be selected
with function setting of indoor unit.
● Forced thermostat off function
["Edge" input only]
Connector
Ch3 of CNA03 or CNA04
(2) External output
• A twisted pair cable (22AWG) should be used. Maximum length of cable is 25m.
• Use an external input and output cable with appropriate external dimension, depending
on the number of cables to be installed.
• Output voltage: Hi DC12V±2V, Lo 0V.
• Permissible current: 50mA
Output select
● When indicator etc. are connected directly
Operation
indicator
Error
indicator
Indoor unit Fan
status indicator
connected unit
● When connecting with unit equipped with a power supply
Connected
device 1
Connected
device 2
Connected
device 3
connected unit
Relay (Field supply)
Operation behavior
Connector
External output1
Pins 1-2
External output2
CNB01
Pins 1-3
External output3
Pins 1-4
Input signal
Command
OFF → ON
Forced stop
ON → OFF
Normal
Input signal
Command
OFF → ON
Forced stop
OFF → ON
Normal
Input signal
Command
OFF → ON
Thermostat off
ON → OFF
Normal
P.C.B
P.C.B
Output voltage
Status
0V
Stop
DC 12 V
Operation
0V
Normal
DC 12 V
Error
0V
Indoor unit fan stop
DC 12 V
Indoor unit fan operation
(3) Connection methods
• Wire modifi cation
Remove insulation from wire attached to wire kit connector.
Remove insulation from fi eld supplied cable. Use crimp type insulated butt connector to
join fi eld cable and wire kit wire.
Connect the wire with connecting wire with solder.
IMPORTANT: Be sure to insulate the connection between the wires.
Field supply
• Connection terminals and wiring arrangement
In following fi gure, all the possible connectors are connected for description.
In actual installation, you cannot connect all the connectors at once.
CNA01
CNA02
CNA04
CNA03
6.7. Installing the control unit
• Refer to 6.1 (1) to (5) to install the control unit, thermistor, and earthing (grounding) wire.
(1) Connect the connection cable.
CNB
01
L, N: Power
supply cable
Power supply
earth (ground)
cable
CNB
01
Earth (ground)
terminal for wired
remote controller
(if necessary)
Do not route the cables over the screw hole.
GOOD
Cable
When you attach the cable clamp, make sure that the cables are not jutting out from the
clamp or being pinched by the clamp.
Option parts:
External input /output wire
Solder and insulate the connected parts.
Cable tie
(Field supply)
PROHIBITED
Cable
Screw hole
Screw hole
CNB01
X1, X2:
Transmission
cable
En-12
