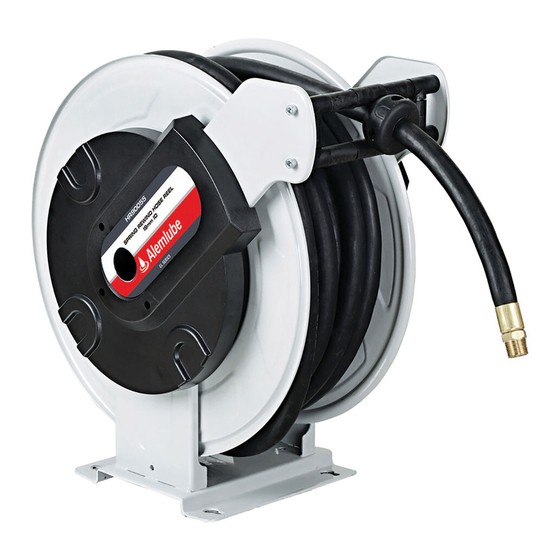
Alemlube HR90055 Manual técnico del propietario - Página 5
Navegue en línea o descargue pdf Manual técnico del propietario para Herramientas Alemlube HR90055. Alemlube HR90055 10 páginas. Spring rewind hose reel

Parts and Drawing Instructions for HR90000 Series
Industrial Hose Reel 286X Series Instruction
Specifications
Spring driven drum: for automatic rewind.
Locking ratchet: to maintain the desired
length of hose in use.
Read the following precautions and instructions before you
begin assembly or using. Failure to comply with these
instructions could result in personal injury or property damage.
Keep these instructions in a convenient location for future reference.
Hose Reel Safety Precautions
1. Make sure incoming line pressure does not exceed rated operating pressure for your model
hose reel.
2. Use proper eye protection when assembling and using the hose reel.
3. Assemble the hose reel on a clean workbench.
4. Use soap and water when checking for leaks.
5. Keep children away from the work area.
WARNING:
Exposure of skin directly to pressurized air, or fluid could result in severe bodily injury.
Installation of Reel
1) For overhead ceiling mounting: Install reels at least 16.5 feet above the floor.
2) If the reel you have purchased does not have hose included, you will need to purchase and
attach. Refer to Specifications on box to determine appropriate hose size and length.
3) You will need to purchase appropriate hardware for mounting your new reel.
1. The reel base has four 1/2" (or 12.7mm) drilled holes for mounting on a suitable flat surface.
Figure 2 is a template showing the correct location of the 4 mounting holes in the bas
2. The reel is supplied with a hose guide roller bracket. The bracket position may be changed
depending on the reel mounting position. Figure 2 shows " Typical Mounting Positions". If
bracket position needs to be changed, do the following:
(1) Pull out some hose and let reel latch.
(2) Remove the bolts that attach the guide roller bracket to the support post.
(3) Rotate guide roller bracket to correct position, replace bolts and tighten.
3. Using the four holes in the base, mount the reel in the desired location. Be sure to use
appropriate hardware and tighten securely.
4. Apply Teflon tape or pipe sealant to supply line threads, attach to reel inlet and tighten. The
other end of incoming line can now be connected to desired supply source.
5. If hose has been supplied with reel: Apply Teflon tape or pipe sealant to outlet fitting on reel
hose, then attach to desired tool, or nozzle. Check connection for leakage, also check hose
reel for correct operation. (Details see Operation section.)
6. If hose stopper adjustment is required, pull hose from reel and allow to latch at desired
length. Loosen stopper bolts and slide stopper to a position close to the hose guide. Tighten
stopper bolts, and unlatch the reel.
Installation of Hose
1. Securely stabilize the reel.
2. Facing the swivel fitting side of reel: Turn the drum clockwise, by hand, until the rewind
spring is tight, and drum has latched. As an extra precaution while installing new hose,
secure drum in the latched position.
NSW
QLD / PNG
TEL: (02) 9677 1555
TEL: (07) 3204 9166
FAX: (02) 9675 1155
FAX: (07) 3204 1224
Visit our website at
4 OF 9
VIC / TAS
WA
TEL: (03) 8787 8288
TEL: (08) 9302 4199
FAX: (03) 8787 8266
FAX: (08) 9303 2095
www.alemlube.com.au
SA / NT
TEL: (08) 8241 7111
FAX: (08) 8241 7011
or
www.alemlube.co.nz
NZ
TEL: (64) 9 447 1007
FAX: (64) 9 447 1008
5
