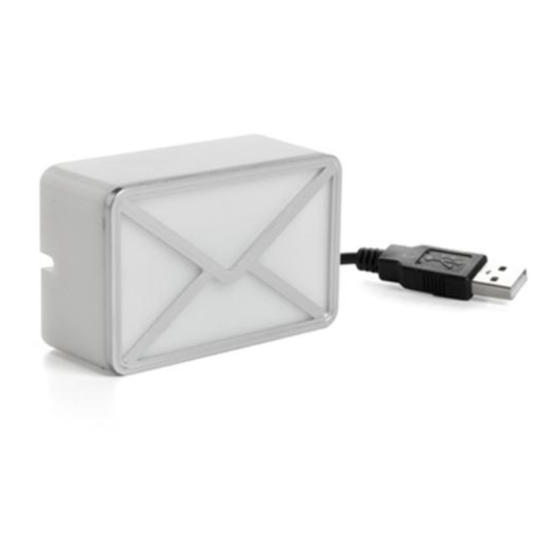
Dream Cheeky Webmail Notifier Instrucciones - Página 2
Navegue en línea o descargue pdf Instrucciones para Accesorios informáticos Dream Cheeky Webmail Notifier. Dream Cheeky Webmail Notifier 2 páginas.

How to Operate
Make sure to install the software and plug your WebMail Notifier into a USB port on your PC prior to operating the unit.
1
TO ADD AN ACCOUNT
WEBMAIL NOTIFIER
i) Press the
ii) Then press the
to add an account.
iii) Choose the email services that you are using,
then press
then press
to move to the next step.
to move to the next step.
2
OUTLOOK EXPRESS/WINDOWS LIVE/
LIVE MAIL /ETC
i)
Select your account on the
WEBMAIL NOTIFIER
list, then press
list, then press
the next step.
ii)
Enter your email password
WEBMAIL NOTIFIER
into the password field, then
press
press
iii)
The software will check the
WEBMAIL NOTIFIER
information that you just
entered. Please wait for a
few seconds.
iv)
If the account information
you entered is correct, press
to finish the setup.
to finish the setup.
If you are asked to make
sure your account infomation
is correct, press
is correct, press
v) If you entered the correct information, but the
connection still fails, enter the full e-mail address in
the field on the left side of the @ symbol. Leave the
field on the right side empty.
Company Address: 1207, Peninsula Centre, 67 Mody Road, TST East, Hong Kong
3
GMAIL/YAHOO MAIL/Y!MAIL/AOL/
HOTMAIL/WINDOWS LIVE
button first.
i)
WEBMAIL NOTIFIER
button
ii)
WEBMAIL NOTIFIER
iii)
to move to
to move to
5
ACCOUNT OPTIONS
WEBMAIL NOTIFIER
1
3
.
.
1. Add account. You can add 10 different accounts.
2. Delete account. You can delete an account by pressing this
button after clicking on the account to select it.
3. Tick to select the accounts you would like to use for alerts.
4. Press to edit your account information.
5. Press to personalize your account's alert color.
6. Press to personalize your account's alert sound.
to edit it.
to edit it.
7. Set the time between checking for new messages or press
CHECK NOW to check for new messages now.
8. Save the settings and close the software.
Enter your email address, services
provider and password, then
press
press
.
.
The Software will check the
information that you just entered.
Please wait for a few seconds.
If the account information you
entered is correct, press
entered is correct, press
finish the setup.
If you are asked to make sure
your
account
infomation
correct, press
correct, press
to edit it.
to edit it.
2
4
5
6
7
8
4
POP3
i)
Enter
WEBMAIL NOTIFIER
information,
services provider and password,
then press
then press
ii)
The Software will check the
WEBMAIL NOTIFIER
information that you just entered.
Please wait for a few seconds.
iii)
If the account information you
entered is correct, press
entered is correct, press
finish the setup.
to
to
If you are asked to make sure
your
correct, press
correct, press
is
iv) If you entered the correct information, but the
connection still fails, enter the full e-mail address in the
field on the left side of the @ symbol. Leave the field on
the right side empty.
WEBMAIL NOTIFIER
9. Choose for how long you will be alerted.
10. Tick to be alerted only once.
11. Tick to be alerted by a pop-up screen,
which will appear at the bottom
right hand of your desktop screen.
12. Tick to mute the software sound.
13. Select whether the inbox capacity is determined by new
messages or total messages.
14. Tick to be informed about your inbox capacity by a color
effect. You can enter the maximum capacity yourself.
your
POP3
server
email
address,
.
.
NOTE: Do not try to
use the IMAP type.
to
to
account
infomation
is
to edit it.
to edit it.
9
10
11
12
13
14
#815 - IM - R6
