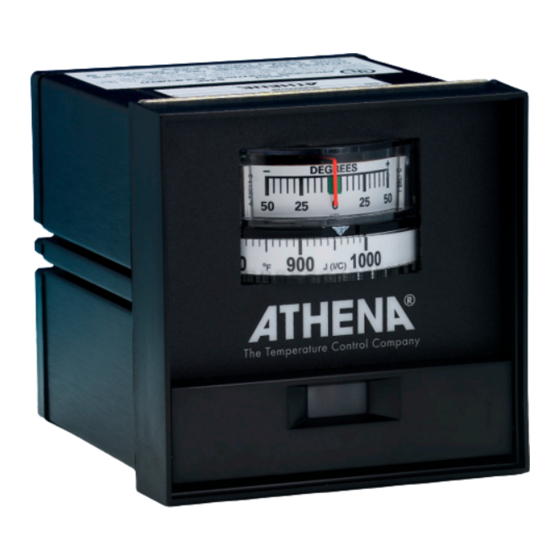
Athena 2000 Series Manual de instrucciones - Página 9
Navegue en línea o descargue pdf Manual de instrucciones para Controlador de temperatura Athena 2000 Series. Athena 2000 Series 16 páginas. Temperature/process controller
También para Athena 2000 Series: Manual de instrucciones (20 páginas)

Configuring
Output Function
There is a switch assembly on the bottom board (see bottom board illustration). This four-position switch
regulates cycle time and output selection. It is factory-configured for the plug- in output ordered. Check the
Switches
output function chart to make sure the configuration is correct for your application.
Switches 1&2: These switches act together to select either proportional current output or one of the time
proportioning cycle times. (See the output function switch chart.) Use longest times to get best relay life
NOTE: Switch 4
expectancy. If meter shows temperature swings following each "on" cycle, select a faster time to reduce
changes the cycle
"ripple."
times in conjunction
Switch 3: Selects either on/off or proportional action. "On" provides proportional action. "Off" provides on/off
with switches 1 and 2.
action.
Check output function
switch chart.
Switch 4: Selects output for either mechanical or solid state relays.
On: Provides slow proportional times for mechanical relays
Off: Provides 20 mAdc when used with the "F" module or fast time proportioning times when used with "S"
Proportional
The proportional band adjustment widens or narrows the band over which proportional action occurs. Too
Band
narrow a band can cause the temperature to swing about the setpoint. This can be seen on the deviation
meter. Too wide a band can cause an error between the setpoint and the actual temperature (droop error) as
Adjustments
measured at the sensor.
For All Outputs
Proper setting of this adjustment is the point where the temperature swings just stop. When adjusting the
proportional band control, do so in small increments, allowing time between each adjustment for the process
to stabilize.
Turning the adjustment in a clockwise direction widens the proportional band and should reduce swings to
straight line control with most processes.
Offset (Manual
Reset)
After the proportional band is set, the process temperature may stabilize at a point other than the setpoint,
high or low, as shown on the deviation meter. This can be corrected with the offset (manual reset)
adjustment.
If the deviation meter indicates a low temperature, turn the offset (manual reset) adjustment clockwise (+
direction) until the deviation meteris at zero.
Turn the offset (manual reset) adjustment counter-clockwise (- direction) for high temperature as indicated by
the deviation meter.
NOTE: If close control cannot be obtained after carefully repeating the above procedures, check to see if the
thermocouple probe is in good contact with the heated process, and if the heaters are correctly sized for the application.
Applications involving large changes in setpoint operating temperature, or large load changes, will require readjustment of
the proportional band and offset (manual reset) pots
How To Set The
Deviation alarms are triggered when the temperature deviates from the setpoint by a predetermined amount.
Alarm
Units can be ordered with either high, low, or high/low alarms.
1.
2.
or "T" modules
Turn the adjustment clockwise to widen the span between the process setpoint and the alarm,
or counterclockwise to narrow it. (Full clockwise should be about 50 °F (30 °C) from setpoint. Full
counterclockwise should be only 5 °F (3 °C) from setpoint.
To check the actual alarm point, simply change the setpoint until the deviation meter reads zero.
Then move it downward (for high alarm) or upward (for low alarm). When the alarm is triggered,
check the deviation meter -- it will show deviation in the amount you've set on the alarm
9
