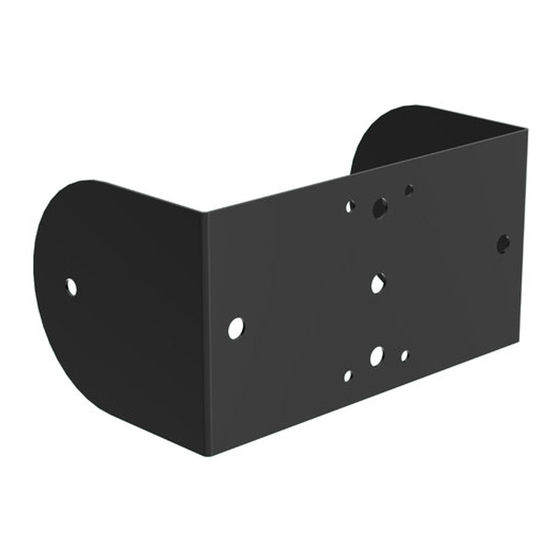
Community MX-Y8 Instrucciones - Página 2
Navegue en línea o descargue pdf Instrucciones para Altavoces Community MX-Y8. Community MX-Y8 4 páginas. M-class mx8 and mx10 mounting yokes

1. Before installing the loudspeaker in the yoke, the yoke should first be attached to the mounting surface. No
hardware is provided for this purpose. Such hardware must be supplied by the installer, and should be rated for
the weight load of the enclosure.
mount the yoke is adequately sized and rated, and if the structure it is attached to is capable of safely
supporting the weight load of the enclosure.
2. Installing the loudspeaker in the yoke is straightforward. First, remove two of the flat-head Allen screws that
come installed in the loudspeaker, one on each side of the enclosure.
3. Position the loudspeaker within the yoke, making sure to leave enough clearance for the speaker wire and
connector.
4. Next, fit each of the two M10 x 30mm bolts with a lock washer and a flat washer. Place the two large rubber
washers between the yoke and the loudspeaker, then pass each bolt through the yoke bracket and the rubber
washer into the loudspeaker's rigging fitting. Tighten the fasteners until snug. After focusing the loudspeaker in
the desired position, the bolts should be tightened to a torque of approximately 12 to 15 foot-pounds, using a
torque wrench. Do not overtighten.
Danger: All rigging points on each enclosure must be fitted with either optional mounting hardware or they
must remain sealed with the flat-head Allen screws that come installed in the enclosure. The flat-head
Allen screws pass through the plywood panels and fasten to internal steel rigging brackets, thereby
providing structural integrity. Without these Allen screws, the structural integrity of the plywood enclosure would
rely solely on the adhesion of the glue joints, which over time could deteriorate. Therefore, all rigging fittings
must have fasteners in place so that the enclosure may be safely mounted. Additionally, if the rigging fittings
are not sealed, air leaks will occur in the enclosure that will compromise the low frequency performance with
distortion and reduced output.
Assembly Diagram
Assembly Instructions
The installer is solely responsible for determining if the hardware used to
