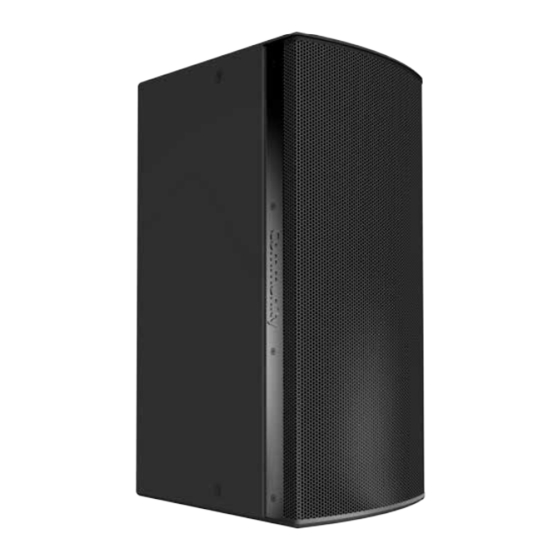
Community Point Source 600 Manual de instalación y funcionamiento - Página 13
Navegue en línea o descargue pdf Manual de instalación y funcionamiento para Altavoces Community Point Source 600. Community Point Source 600 17 páginas. I series

GRILLE CLOTH REPLACEMENT
Apply a fine mist of spray adhesive to the inside surface of the grille including
the inside corners. Do not clog the perforations.
Position the grille cloth so that the side with the tighter, smoother weave faces
the rear side of the grille. Hold the corners of the cloth and place it onto the
center, inside of the grille (Figure 7a). The cloth will be oversized.
Align the edges, and spread the cloth toward the sides one side at a time, while
smoothing out any ripples (Figure 7b-1).
Bring the excess cloth edge up and over the sides of the grille making sure that the
cloth is fully adhered to the inside corners and edges of the grille (Figure 7b-2).
Trim the side edges of the cloth to leave 0.5" (13mm) to wrap over the edge. Apply
a bead of adhesive to the outside edge of the grille sides (about 1/4" (7mm) from
the top, and fold the grille cloth over to adhere the edge.
Trim the top and bottom of the cloth to be even with those edges (Figure 7c) and
make sure that the cloth is fully adhered to the grille without any wrinkles.
One end at a time, fit the soft plastic trim strips on the top and bottom edges of
the grille (Figure 7d) and secure the ends and corner bends with small amounts
of cyanoacrylate adhesive (commonly known as "Super Glue"). Trim excess after
it is fitted onto the grille edges.
Follow the manufacturer's instructions and allow the adhesives to fully cure
before reattaching the grille to the loudspeaker cabinet (Figure 7e).
Figure 7a. Spray inside of grille with
adhesive, center the grille cloth
fabric (with tighter weave side
down) and align short edges
Figure 7c. Trim top and bottom
of grille cloth and secure
folded sides with glue
I SERIES IP800/IP600, IS800/IS600
Figure 7b. Press fabric against
smoothing out any wrinkles
Figure 7d. Reinstall the soft
plastic trim and secure ends
and corners with glue
Quick Start Guide
Warning: The grille edges are
sharp! Use care when handling
the unprotected edges of the
grille to prevent injury.
Note: Order the NeverWet™-treated
grille cloth replacement kit for any
weather-resistant models.
2
1
grille and into the bends,
Figure 7e. Reinstall the grille one side
at a time with correct orientation
of the grille retention bars
Trim excess fabric 0.5"
(13mm) and fold over the
bent sides
1
2
Page 13
