Andonstar A1 Manual de instrucciones - Página 9
Navegue en línea o descargue pdf Manual de instrucciones para Microscopio Andonstar A1. Andonstar A1 11 páginas. Usb digital microscope
También para Andonstar A1: Manual de introducción al usuario (9 páginas)

③. Software download and installation
Windows10 and MacOS systems can use the system camera to view images.
Note: For different computer operating systems, please download the matching installation software.
Operating system required for installation:
Windows XP, Windows 7, Windows 8, Windows 10, etc
In order to avoid errors during the installation process, please strictly follow the installation steps:
Application: (take Windows system as an example)
Download link:
Please download the software "amcap" and related instructions and copy it to your computer desktop.
https://bit.ly/3woHmVG
After installation, the desktop will have the following icons:
④ Use of amcap software
Connect the USB plug of the USB digital microscope to the computer. Confirm that the new USB device is
① Start the "amcap" software
connected to the computer.
② Select the microscope equipment in Devices
③ Capture pictures:
1. Initial setting: Options→Preview√, Capture→Still→Enable√,
2. Select the image storage path: Capture→Still→Folder
3. Capture the screen: Capture→Snap or press the camera button on the USB remote controller to take a photo. (Or
simply press "Enter" on the keyboard)
④ Record video:
1) Select the video storage path: File→Set Capture File→ Target Folder
2) Recording: Capture→start capture→OK→stop capture.
⑤ The video/picture data is stored as a file in the location you specify, and the recorded video file can be viewed in
the saved folder.
⑥Image resolution setting: Options→Video capture pin...→New window properties→Select output size→OK.
7. Adjust the object distance and magnification
If the image is blurry, you can debug it in the following two ways:
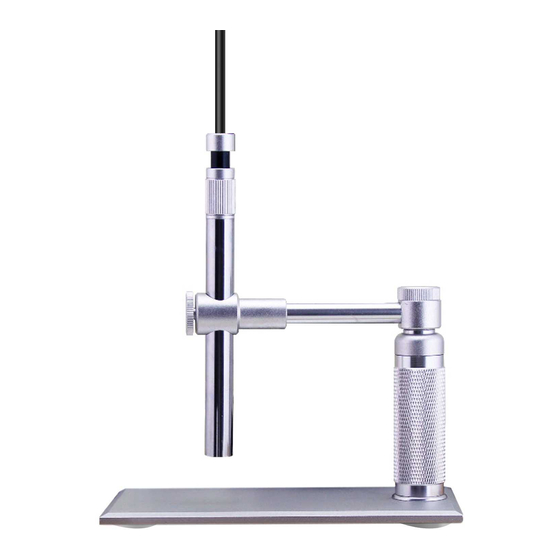
1. Keep the object distance unchanged, turn the 'focus ring' (Picture1) at the rear of the microscope to focus (you can
fine-tune the focus ring, don't turn too much at a time, easy to over-focus) Until the image is clear.
2. The magnification remains the same, that is, the 'focus ring' at the end of the microscope (Picture1) remains the
same, adjust the object distance until the image is clear.
Object distance: the distance between the microscope lens and the object being observed.
①The microscope host can be manually pulled in and out to adjust the object distance;
②Install the host to the bracket, and adjust the object distance through the 'lifting knob' (see Picture1).
- 8 -
