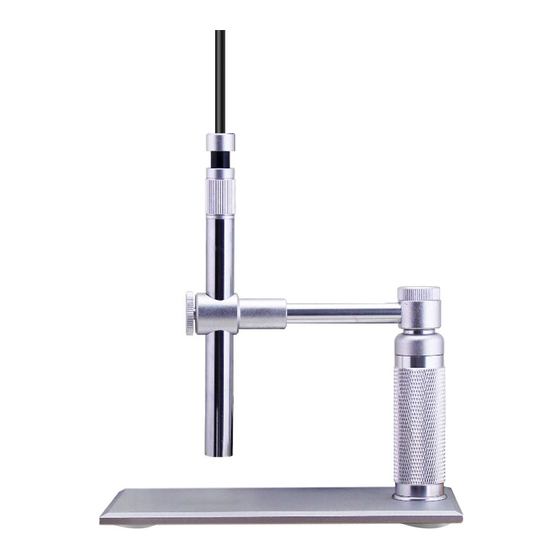
Andonstar V160 Manual de introducción al usuario - Página 4
Navegue en línea o descargue pdf Manual de introducción al usuario para Microscopio Andonstar V160. Andonstar V160 9 páginas. Usb digital microscope
También para Andonstar V160: Manual de instrucciones (11 páginas)

Directions for Use
Properly connect the USB HANDHELD MICROSCOPE to the computer and
to rotate the dial on the USB cable to controls the brightness of the LED on
the USB HANDHELD MICROSCOPE. After a short while you should see
the image captured by the USB HANDHELD MICROSCOPE on the
computer monitor.
OPEN IMAGE WINDOW
Double click on the icon and open an image window on the screen. After a
few seconds the USB HANDHELD MICROSCOPE will begin to take images
in the window. Click on 'OPTIONS' and click on 'VIDEO CAPTURE PIN'.
Choose one of image window size in the drop-down menu and click on 'OK'
to confirm.
FOCUSING
The focusing ring is at the handle of the USB HANDHELD MICROSCOPE.
When the focusing ring is rotated it adjusted the distance between lens and
sensor for getting the clear image.
Please keep the head of USB HANDHELD MICROSCOPE tightly and
snugly touching the surface of the object during the focusing and
observation.
TAKE PHOTOS
Push down the snap key on the handle or push down the button of the
dimmer that located on the USB cable to freeze an image. Or click 'snap' on
the top of image window, or push down the 'return key' of keyboard to freeze
an image.
The photos you have taken will be saved in the computer and display an
icon on the screen.
If your system could not freeze an image please follow steps to make it
work:
1, Open the image window
2, Click on 'capture' on top line of the window
3, Click on 'still' in the pull down window
3, Click on 'folder'
4, Designate the folder for your photos location
