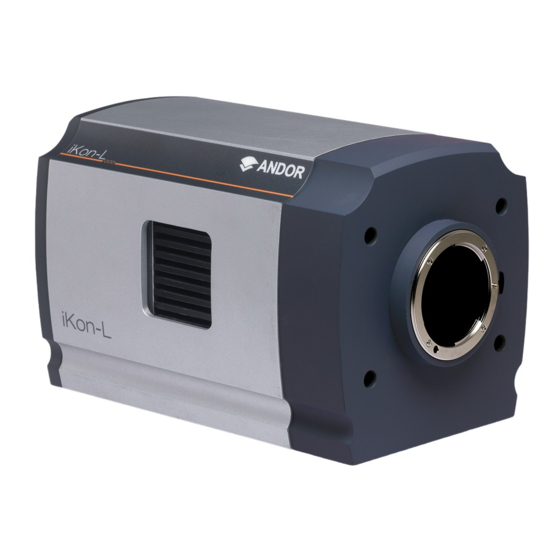
Andor Technology iKon L Manual de inicio rápido - Página 2
Navegue en línea o descargue pdf Manual de inicio rápido para Cámara digital Andor Technology iKon L. Andor Technology iKon L 2 páginas.

4
Camera Cooling Guidelines
iKon-M Models:
There are two cooling hose connectors that are located on the top plate of the camera for connection of the iKon-M
to a water cooler, or re-circulator system. One end is inserted into the camera body, the other end is barbed for
push-fit connection to suitable tubing.
iKon-L Models:
There are two cooling hose connectors that are located on the base plate (connections panel) of the camera for
connection of the iKon-L to a water cooler, or re-circulator system. One end is fixed into the camera body, the other
end is barbed for push-fit connection to suitable tubing.
All Models:
When Liquid Cooling:
Before operation, the camera must be connected via its 2 coolant pipes to a re-circulating cooler or other
liquid cooling system. Always use coolant that is above the dew point of the ambient environment to prevent
condensation from occurring. Refer to the Hardware Guide for dew point information.
•
Coolant temperature: We typically advise use of coolant temperature up to 16
condensing conditions in humid environments higher temperatures may be necessary.
•
Recommended coolant: water or water/glycol mix depending on the ambient environmental temperature
during operation.
•
Ensure that all liquid coolant has been expelled from the camera after operation if it is to be stored.
When air cooling:
•
Ensure that ventilation slots are not obstructed when in air cooled mode.
Please see the model specific Hardware Guide for further information on cooling.
5
Connect the Power Supply (iKon-L models)
Ensure the mains power cable is not inserted before attaching the PSU to the camera.
The iKon-L uses a dual PSU setup comprised of a PS-40 and a PS-29. The PS-29 (or equivalent user supplied unit)
is connected to the mains electrical supply via an IEC lead and performs AC-DC conversion. The PS-40 takes the
24 VDC output of the PS-29.
1. Connect the power cable between the
camera power input and the PS-40,
ensuring it is threaded correctly and
tigthened fully. Note the alignment
arrows during insertion!
2. Ensure the PS-40 is switched off and
then connect the power cable of the
iKon-L
PS-29 to the PS-40. Note that there is
an ON/OFF switch on PS-40.
3. Connect the PS-29 to the mains supply.
From Mains
supply
Ensure that the power connectors
for the iKon-L camera are inserted securely.
Ensure that the
symbols on the power cable, the PS-40 and camera are aligned correctly
o
C. However, to ensure non-
1
16-pin
Cable
PS-40
3
4-pin
Cable
PS-29
24 VDC
6
Connect the Camera and Switch it on
Ensure the mains power cable is not inserted before attaching the PSU to the camera.
iKon-M Models
1. Connect the power cable between the Camera power input (rear
panel) and the PSU and then connect the power cable of the PSU to
the mains supply.
iKon-L Models
2. See instructions in Section 5 to connect iKon-L camera to power
supply.
All Models
3. Connect the USB 2.0 cable from the iKon-M or iKon-L to a suitable
USB 2.0 port on the control PC.
4. Turn on the Camera.
5. Start your software.
6. View and adjust the acquisition settings as required.
7. Start acquiring data.
Troubleshoot
?
Camera start-up tone does not sound on start-up
•
The camera start-up tone should be audible momentarily when the camera is switched to ON.
•
If this does not occur, ensure that power is connected to the camera and the ON/OFF switch is set to ON.
Support Device not recognised when plugged into PC
•
Choose another USB port.
2
Please see the Hardware Guide for further information on Troubleshooting.
Online access to technical documentation and software downloads is available at:
andor.oxinst.com/downloads
iKon-M Rear Panel Connections
Fire SMB
Power
External trigger SMB
Shutter SMB
I²C
Lockable USB 2.0
Connector
iKon-L Connections Panel
MAN-15576
IKOQS 0921 R1
