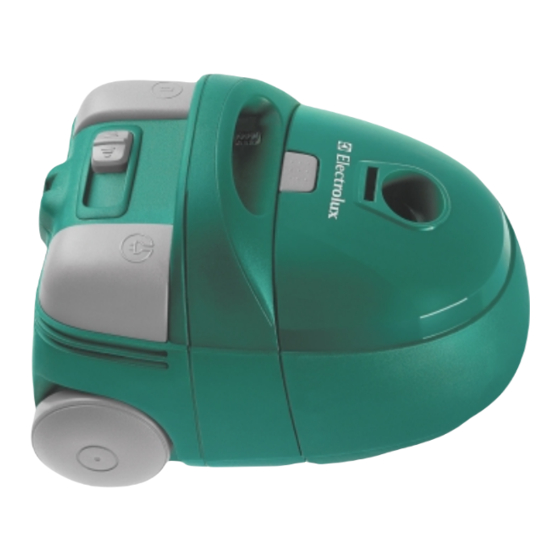
Electrolux Clario Manual - Página 5
Navegue en línea o descargue pdf Manual para Aspiradora Electrolux Clario. Electrolux Clario 19 páginas. Electrolux vacuum cleaner
También para Electrolux Clario: Libro de instrucciones (17 páginas)

English
Before you start, please refer to electrical safety supply
instructions on page 63 (U.K. and Ireland only).
Electrolux supply a range of cleaners with different accessories,
all of which are covered in this manual. Please refer to your
specific model and it's accessories, which are shown on the
outer box label.
Please keep both cover flaps open and cross reference pictures
with text where necessary.
Tools for your Clario (all models)
Dust bags (s-bag™)
Swivel hose and handle with manual suction control
D
Combination carpet/hard floor nozzle
E
Narrow crevice nozzle
G
Tools for your Clario (some models)
Extension tubes (x2)
B
Telescopic tube
C
Turbo nozzle
Power nozzle
X
Ultra low nozzle
Parquet hard floor nozzle
Combination nozzle/brush
s
Upholstery nozzle
H
Dusting brush
I
Tool holder
K
Ensuring your safety
The Electrolux Clario is for domestic use only and has been designed
to ensure maximum safety and performance. Please follow these
simple precautions:
L
The Clario is double-insulated so it must not be earthed.
The Clario is only to be used by adults
M
Always store in a dry place
N
Do not use to pick up liquids
O
Avoid sharp objects
P
Do not pick up hot cinders or lighted cigarette ends
Q
R
Do not use near flammable gases
Avoid tugging on the mains cable and check cable regularly
S
for damage
Note: Do not use your cleaner with a damaged cable. If
T
damaged the cable should be replaced at an Electrolux
Service Centre
The Plug must be removed from the socket-outlet before
U
cleaning or maintaining the appliance
All service and repairs must be carried out by authorised
W
Electrolux service staff
Clario
Getting Started
1
Check the s-bag™ is in place.
2
Insert the hose until the catch clicks to engage.
(Press catch inwards to release).
3
Attach extension tubes or telescopic tube to the hose handle
and floor nozzle by pushing and twisting together (Twist and
pull apart to dismantle).
4
Extend the cable and connect to mains. The cleaner is fitted
with cable rewind. Press foot pedal to rewind (please hold the
plug to prevent it striking you).
5
Press the On/Off foot pedal to activate the cleaner.
6
To reduce suction, gradually open the aperture on the hose
handle. Slide the electronic suction control between min and
max (some models).
C
Your Clario features
X
A
Mains cable
B
Cable rewind pedal
Y
C
Power outlet (for the use of power driven tools) (some
c
models)
D
Electronic suction control (some models)
Z
E
Mechanical s-bag™ indicator
d
F
Hose connection
m
G
s-bag™ security device – prevents lid closing without a
f
s-bag™ in place
H
Carrying handle
g
I
Cover release catch for s-bag™ compartment
l
J
i
On/off switch
K
Storage slot for floor nozzle and extension tubes when in use
5
L
Storage slot for floor nozzle and extension tubes when
not in use
Getting the best results
k
Carpets: Use the floor nozzle with the lever in this position.
u
Hard floors: Use the floor nozzle with the lever in this position.
Wooden floors: Use parquet nozzle to avoid scratching (some
models).
Low furniture: Use ultra low nozzle for better clearance (some
models).
p
Loose rugs/curtains/lightweight fabrics: Reduce the
suction power. Use the floor nozzle for loose rugs and the
upholstery nozzle for curtains, cushions etc.
Lamps, pictures and bookshelves: Use the dusting brush.
q
r
Confined areas: Use the crevice nozzle for crevices, corners
and radiators.
