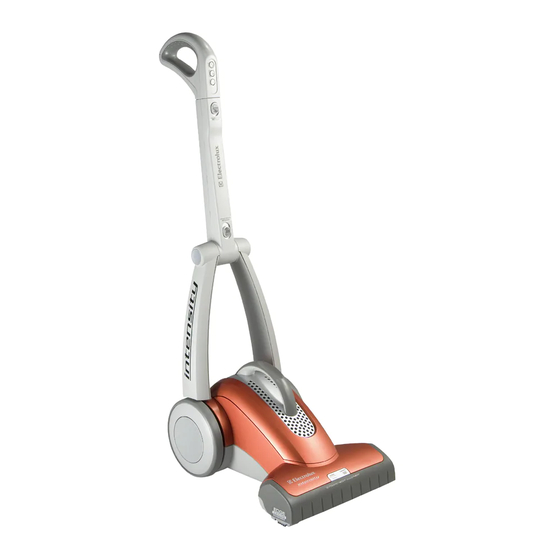
Electrolux EL5020A - Intensity Upright HEPA Vacuum Cleaner Manual de montaje y desmontaje - Página 3
Navegue en línea o descargue pdf Manual de montaje y desmontaje para Aspiradora Electrolux EL5020A - Intensity Upright HEPA Vacuum Cleaner. Electrolux EL5020A - Intensity Upright HEPA Vacuum Cleaner 6 páginas. Bagged upright vacuum cleaner
También para Electrolux EL5020A - Intensity Upright HEPA Vacuum Cleaner: Manual del usuario (16 páginas)

A. Belt & Brushroll Assembly Removal / Installation
• Remove 3 Phillips screws from bottom plate.
• Remove bottom plate.
• Lift brushroll out and remove the belt.
• Remove the belt from the brushroll motor pulley.
• Reassemble in reverse order.
• To ease the installation of the brushroll install the belt side first, and make sure you
rotate the brushroll to make sure it rotates smoothly.
B. Rear Wheel Assembly Removal / Installation
• Remove hub cap by prying off gently with a flat tip screwdriver.
• Remove torx screw and lock washer
• Remove Wheel Assembly
• When reinstalling wheel assembly insure large anti wear washer is installed between the
wheel and the handle retaining ring.
• Reassemble in reverse order.
C. Hood Assembly Removal / Installation
• Remove the belt & brushroll. (Section A)
• Remove 4 torx screws from under brushroll.
• Remove left wheel (Section B)
• Remove 2 torx screws at (1 and 11o'clock) on handle retaining ring.
• Remove the left and right fenders by gently prying them with a flat tip screwdriver.
• Remove 2 torx screws from under the left fender.
• Remove 1 torx screw from under the right fender.
• Remove the bag cover and gasket.
• Remove HEPA filter.
• Remove 2 torx screws from the forward edge of bag compartment.
• Remove 4 torx screws from around HEPA filter.
• Remove the hood assembly.
• Reassemble in reverse order. When placing hood back on the unit be sure to install the
cord guide/stop on the hood before fully setting it on the unit.
3
