Drill Master 92623 Manual del usuario e instrucciones de seguridad - Página 16
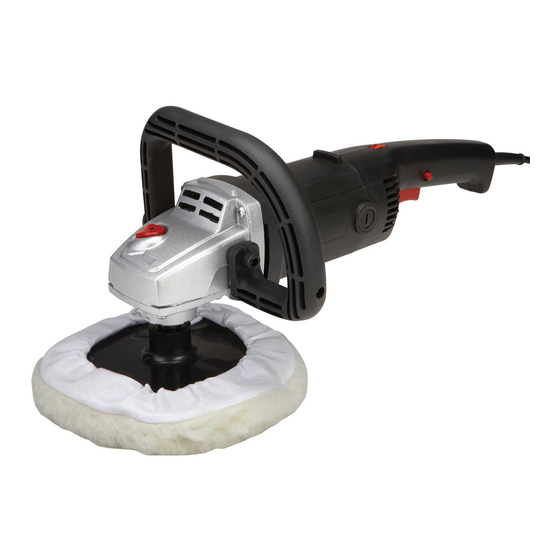
Navegue en línea o descargue pdf Manual del usuario e instrucciones de seguridad para Sander Drill Master 92623. Drill Master 92623 20 páginas. 7" variable speed polisher/sander
maintenance and Servicing
procedures not specifically explained in this manual must
be performed only by a qualified technician.
tO pRevent SeRiOuS injuRY FROm aCCiDental OpeRatiOn:
Release the trigger and unplug the tool from its electrical outlet before
performing any inspection, maintenance, or cleaning procedures.
tO pRevent SeRiOuS injuRY FROm tOOl FailuRe:
Do not use damaged equipment. if abnormal noise or vibration occurs,
have the problem corrected before further use.
Cleaning, maintenance, and lubrication
1. BeFORe eaCh uSe, inspect the general
condition of the tool. Check for:
• loose hardware,
• misalignment or binding of moving parts,
• cracked or broken parts,
• damaged electrical wiring, and
• any other condition that may
affect its safe operation.
2. aFteR uSe, wipe external surfaces
of the tool with clean cloth.
3. Periodically blow dust and grit out of the motor vents
using dry compressed air. Wear ANSI-approved
safety goggles and NIOSH-approved
breathing protection while doing this.
4. Periodically recheck all nuts, bolts,
and screws for tightness.
5. Remove Foam Pad from Backing Pad when
Polisher/Sander is not in use. This will allow
Backing Pad to dry and retain its original shape.
Wash with mild soap and water before storing.
6. The Polishing Bonnet may be machine washed in
cold water with mild detergent. Do not put in the dryer.
7. Use only a clean cloth and mild detergent to clean
the body of the Polisher. Do not use solvents.
Do not immerse any part of the tool in liquid.
Page 16
For technical questions, please call 1-800-444-3353.
8.
CaRBOn BRuSh maintenanCe.
The carbon brushes may require maintenance when
the motor performance of the tool decreases or
stops working completely. To maintain the brushes:
a. Remove the Carbon Brush Cover on
each side of the motor housing.
b. Remove the carbon brushes from the
housing. Keep track of which orientation
the old carbon brushes were in to prevent
needless wear if they will be reinstalled.
c. If either carbon brush is worn down by
more than 1/2, replace them both.
d. To clean old carbon brushes before reusing them,
rub the contact areas with a pencil eraser.
e. Reinsert the old carbon brushes in the
same orientation to reduce wear.
f. When installing, make sure the carbon portions
of the brushes contact the motor armature,
and that the springs face away from the motor.
Also, make sure the springs operate freely.
g. Replace the Carbon Brush
Covers. Do not overtighten.
note: New carbon brushes tend to spark when first used
until they wear and conform to the motor's armature.
WaRninG! if the supply cord of this
9.
power tool is damaged, it must be replaced
only by a qualified service technician.
Item 92623