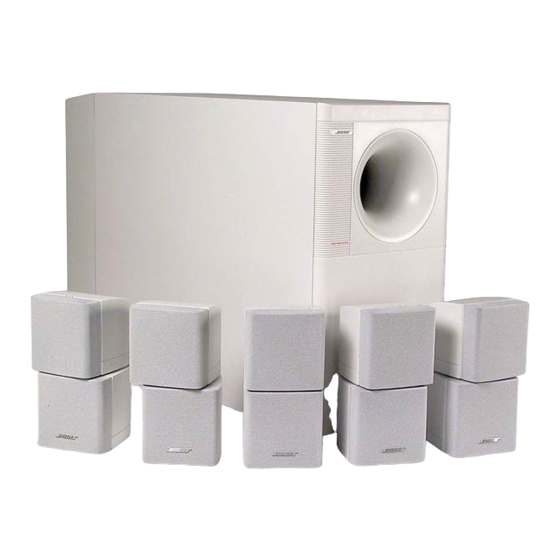
Bose Acoustimass Bass System Manual del usuario - Página 9
Navegue en línea o descargue pdf Manual del usuario para Altavoces Bose Acoustimass Bass System. Bose Acoustimass Bass System 18 páginas. Wireless bass module
También para Bose Acoustimass Bass System: Manual del usuario (11 páginas), Manual del usuario (13 páginas), Manual del usuario (6 páginas), Manual del usuario (24 páginas), Manual de inicio rápido (2 páginas)

Connect the speakers
Figure 4
Separating cables
Figure 5
Making cube speaker connec-
tions
AM194452_06_V.pdf
Connect the cube arrays to the Powered Acoustimass
module to your receiver. The supplied cables make this easy. The cables may be separated
or "unzipped" as much as needed to comfortably reach the speakers. See Figure 4.
CAUTION: Before making any connections turn off your receiver and unplug it from the
outlet (AC power mains). Not doing so may result in damage to your system.
CAUTION: Never connect the cubes directly to a receiver output. Always connect the cube
arrays to the Powered Acoustimass module, then connect the module to the receiver.
CAUTION: Never use broken or frayed wiring, which can result in electrical shock or
damage to your system. The supplied cables are not intended for in-wall installation. Check
local building codes or enlist a qualified installer.
Connect the Powered Acoustimass module to the center and
front cube arrays
Three individual 20 (6m) foot wire pairs connect the Powered Acoustimass module to the
Center, Right, and Left front cube arrays. Each cable connects to the module with a single
plug.
1. Connect the wire pair marked C to the center speaker. Just press the terminal tab on the
back of the cube array to insert the marked wire into the red terminal and the plain wire
into the black terminal. See Figure 5. Release the tab to secure the wires.
2. Connect the wire pair marked R to the right front speaker (to the right of the TV as you
face it).
3. Connect the wire pair marked L to the left front speaker.
Marked wire
to Red terminal
October 22, 2001
Setting Up
®
module, and then connect the
7
