Bose FreeSpace 3 Manual del instalador - Página 5

Navegue en línea o descargue pdf Manual del instalador para Altavoces Bose FreeSpace 3. Bose FreeSpace 3 15 páginas. Ceiling install kit
También para Bose FreeSpace 3: Nota de aplicación (2 páginas), Manual de instalación (12 páginas), Manual de instalación (13 páginas), Manual de diseño (4 páginas), Manual de diseño (4 páginas), Manual de inicio rápido (2 páginas), Manual de servicio (15 páginas)
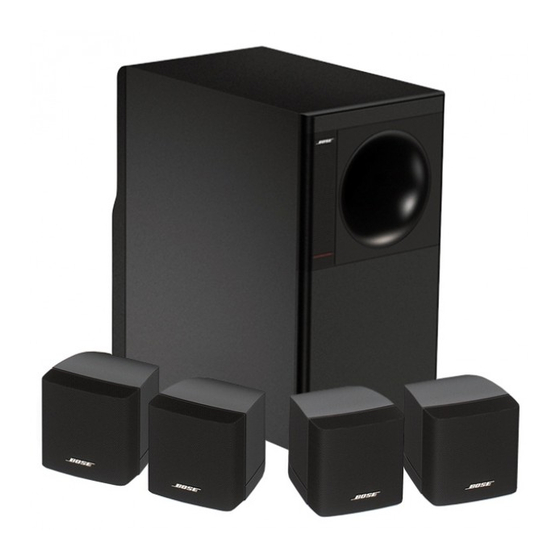
Bose FreeSpace 3 Manual del instalador

2.2 Transformer tap setting or bypass

Lower Wattage: The transformer tap is set at the factory for
100W use. To set it for lower wattage, remove the end of the
+ jumper wire that is connected to 100W and reattach it to the
appropriate tap (50W, 25W, or 12W).
Mono Direct: To bypass the transformer and prepare the
loudspeaker for 4 use and mono sound input, remove only
the two transformer jumper wires. Leave the CH1 and CH2
input jumpers as they are.
Stereo Direct: To bypass the transformer and prepare the
loudspeaker for 4 use and stereo sound input, remove all
jumper wires.
Refer to page 7 for wiring details.
Note: Jumpers required
TRANSFORMER SETTINGS
for 70V/100V operation.
For transformer bypass,
remove jumpers from
transformer settings and
+
use 4-8
SAT 2
SATELLITE
CONNECTIONS
MONO
70V/100V
SAT 1
INPUT___
Refer to installation manual
PN254410 for proper installation
STEREO
CH 2
and operation instructions
MONO
STEREO
USE JUMPERS
CH 1
®
FreeSpace 3
Acoustimass Module
2.3 Direct (transformer bypass) use
Connecting a mono source with the transformer bypassed
Note: Jumpers required
TRANSFORMER SETTINGS
for 70V/100V operation.
For transformer bypass,
remove jumpers from
transformer settings and
+
use 4-8 input.
SAT 2
SATELLITE
CONNECTIONS
MONO
SAT 1
70V/100V
INPUT___
Refer to installation manual
PN254410 for proper installation
STEREO
CH 2
and operation instructions
MONO
STEREO
USE JUMPERS
CH 1
FreeSpace 3
®
Acoustimass Module
input.
SAT 4
SAT 3
SAT 2
SAT 1
4-8
INPUT
Connection jumpers
as factory installed
SAT 4
SAT 3
SAT 2
SAT 1
4-8
INPUT
Installation
5