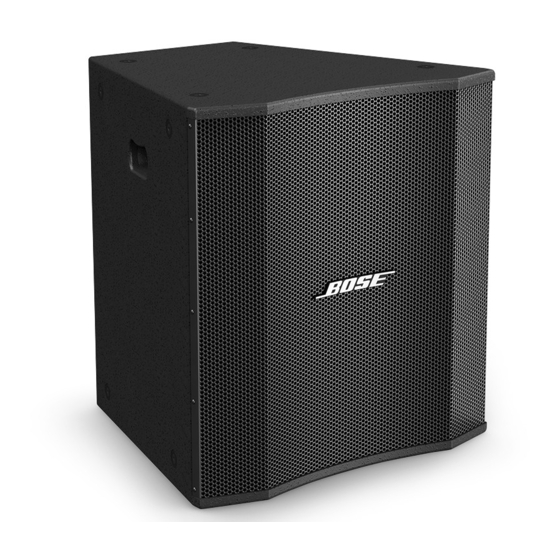
Bose LT 9403 Manual - Página 31
Navegue en línea o descargue pdf Manual para Altavoces Bose LT 9403. Bose LT 9403 35 páginas. Lt and mb series loudspeakers
También para Bose LT 9403: Manual de instalación (32 páginas), Manual de instalación (32 páginas), Manual del usuario (32 páginas)

High Frequency Compression Driver Diaphragm Replacement Procedure (cont.)
7. Examine the gap in which the coil of the diaphragm sits by completing the following steps:
A. Gently insert one end of a piece of clean paper (approximately 1" x 1.2") into the gap.
B. Slowly work the paper into the gap.
C. Move the paper around the perimeter of the gap.
Note: You should not feel any debris or obstructions with the paper. If there is debris, use a piece
of masking tape to remove. Fold the tape so that both sides have the adhesive backing on the
outside. Insert the tape into the gap and work it into and around the gap, removing any debris.
D. When the gap is clean, check once again with a clean piece of paper.
Note: If the gap is still not clean, do not install the replacement diaphragm but instead replace
the entire compression driver.
8. Once the gap is clean, make sure that there is no debris on the front plate. The front plate may
have some small smudges from fingerprints, but there should be no debris (from a shattered
aluminum diaphragm or any other source) and it should feel smooth to the touch with no pits in
the metal.
9. Remove the replacement diaphragm from its carton.
10. Grasp the diaphragm assembly around its edges and gently place it onto the front of the
compression driver assembly. Do not press down on the diaphragm assembly as this could
cause the coil on the underside of the diaphragm assembly to be crushed against the front of the
compression driver assembly.
11. Slowly and gently rotate the diaphragm assembly so that the coil is worked into the the gap in
the front of the compression driver. The screw holes in the diaphragm can be visually lined up
with the screw holes in the front of the compression driver assembly to help center the coil into
the gap.
12. Align the holes in the diaphragm assembly with the holes in the front of the compression
driver assembly.
13. Replace the rear cover by aligning the screws holes and securing it with the screws.
14. Sweep the driver with a sine wave from 300Hz to 1kHz and listen for buzzing. If you hear any
buzzing, readjust the diaphragm or clean the gap again. Dirt and/or misalignment of the dia-
phragm causes buzzing. Once you have cleaned and/or adjusted the gap, continue sweeping
the driver until you do not hear any buzzing. Once you no longer hear any buzzing, the driver is
ready to be installed and used.
31
