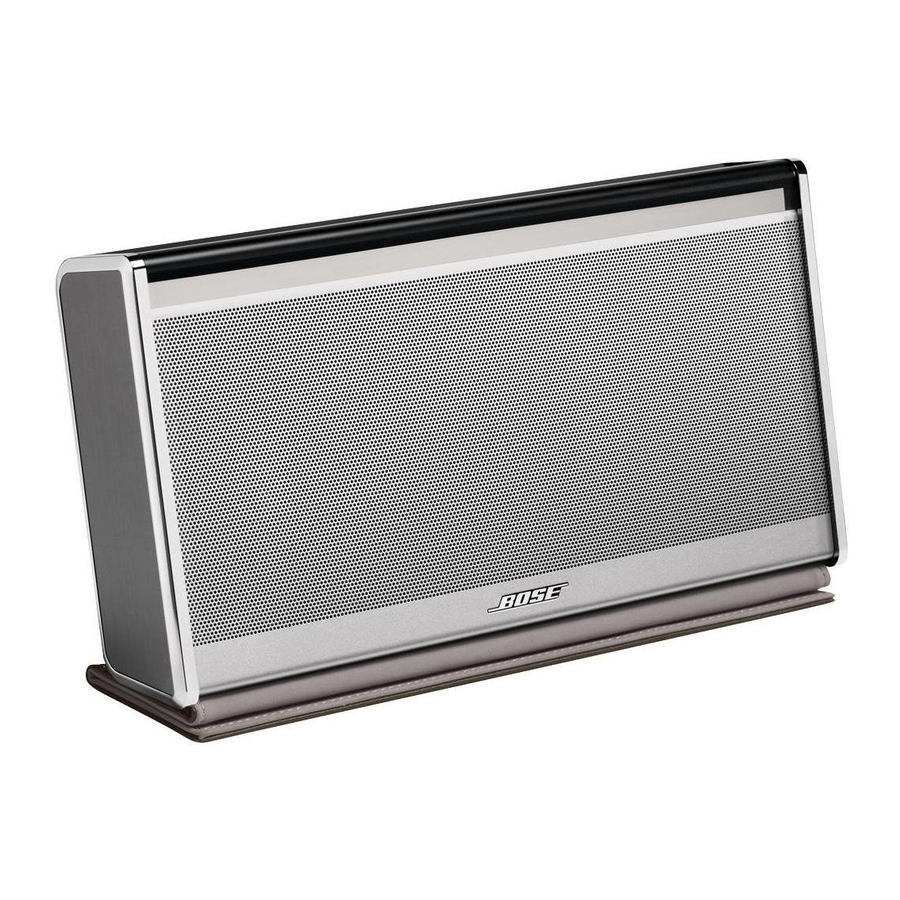
Bose SoundLink Wireless Music System Manual del usuario - Página 13
Navegue en línea o descargue pdf Manual del usuario para Altavoces Bose SoundLink Wireless Music System. Bose SoundLink Wireless Music System 21 páginas. Car charger
También para Bose SoundLink Wireless Music System: Manual del usuario (32 páginas), Manual de configuración rápida (2 páginas), Manual del usuario (24 páginas), Manual de sustitución (2 páginas), Manual del usuario (15 páginas), Manual del usuario (12 páginas), Manual del usuario (24 páginas), Manual del usuario (33 páginas), Manual del usuario (24 páginas), Manual del usuario (40 páginas), Manual del usuario (22 páginas), Manual del usuario (16 páginas), Manual del usuario (18 páginas), Manual del usuario (24 páginas), Manual de inicio rápido (2 páginas), Manual del usuario (22 páginas), Manual de inicio rápido (2 páginas), Manual del usuario (16 páginas), Manual del usuario (16 páginas), Instrucciones para el cambio de pilas (2 páginas), Manual del usuario (2 páginas), Manual de inicio rápido (2 páginas), Manual del usuario (19 páginas), Manual del usuario (31 páginas), ¿Cómo (5 páginas), Manual de instrucciones (2 páginas), (Spanish) Guía De Usuario (26 páginas), (Japonés) Manual del usuario (3 páginas)