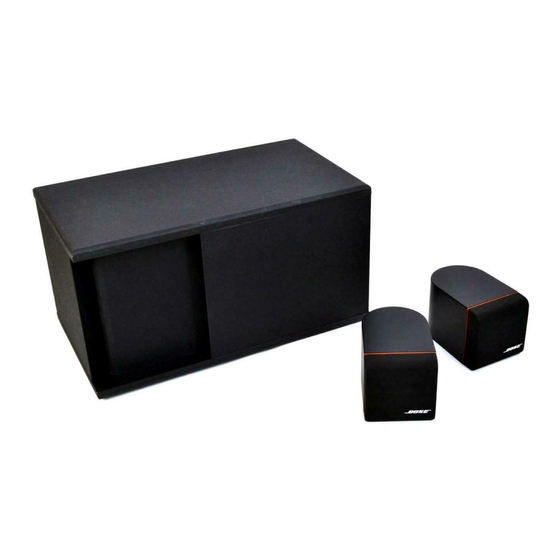
Bose Acoustimass 3 Series Manual de servicio - Página 16
Navegue en línea o descargue pdf Manual de servicio para Sistema de altavoces Bose Acoustimass 3 Series. Bose Acoustimass 3 Series 42 páginas. Powered speaker system
También para Bose Acoustimass 3 Series: Manual del usuario (17 páginas), Manual del usuario (10 páginas), Manual (43 páginas)

C. Lower the PCB (solder side up) into place on
top of the transformer cup. There are holes in
each corner of the PCB that align with the locater
pins on the cup.The transistors (on PCB edges)
should rest lightly on the transistor spring clips
(14). Place the transformer primary connector
wires into the slot on the PCB.
NOTE: If no further servicing is required,use the
simplified steps below to re-assemble the unit.
D. Replace the heatsink (9) using Procedure
6,steps A. and B.
E. Place the transformer primary into the slot on
the Amplifier PCB (11).
F. Replace the adapter bracket (8) and EQ PCB
(5) and secure using Procedure 6,step C.
G. Secure the heatsink, adapter bracket and EQ
PCB to the module with 6 screws (10).
H. Replace the cover (3) using Procedure 2.
9. Transformer Assembly Removal
NOTE: If direct access to the transformer is
required and the unit has not been
disassembled, refer to the simplified steps
provided in Procedure 7, along with steps A.
and B. below.
A. Remove 4 screws (15) and 4 washers (16)
using a 3/32-inch Allen wrench and lift the
transformer assembly (18) out of the transformer
cup.
NOTE: With the module's label side facing you,
the transformer's primary side is on the left and
the secondary side is on the right.
10. Transformer Assembly Replacement
NOTE: The transformer bracket (part of the
assembly) has a bent flange in corner which will
only allow the transformer to fit 1 way in the
transformer cup (19).
A. Lower the transformer assembly (18) into the
transformer cup.
B. Align the screw holes on the transformer with
those on the cup.
C. Secure the transformer to the cup with 4
screws (15) and 4 washers (16) using a 3/32-inch
Allen wrench.
NOTE: If no further servicing of the unit is
required,refer to the simplified steps provided in
Procedure 8 to re-assemble the unit.
11. Transformer Cup and Gasket Removal
NOTE: To directly access the transformer cup
and gasket,follow the simplified steps provided in
Procedure 9,then proceed with steps A. and B.
of this procedure.
A. Remove 2 screws (10) which secure the
transformer cup (19) to the module and lift the
transformer cup away from the module.
NOTE: There might be woofer connector wires
(safety controlled cable-(24)) taped over the
transformer cup gasket (20). Note the location of
the cable relative to the module. Remove the
tape and move the wires aside.
B. Remove the transformer cup gasket .
12. Transformer Cup and Gasket Replacement
NOTE: The transformer cup gasket (20) has
raised edges which should be facing up when
positioning the gasket. The gasket also has a U-
shaped opening which will align precisely with
the module.
A. Place the gasket in position over the opening
of the module.
B. Lay the woofer cable (24) over the appropriate
corner of the bass module. The wires must cross
over the top of the gasket.
C. Position the transformer cup. The cup has a
locating ridge and only fits into the module one
way. The lip should be aligned with the U-shaped
opening in the module.
15
