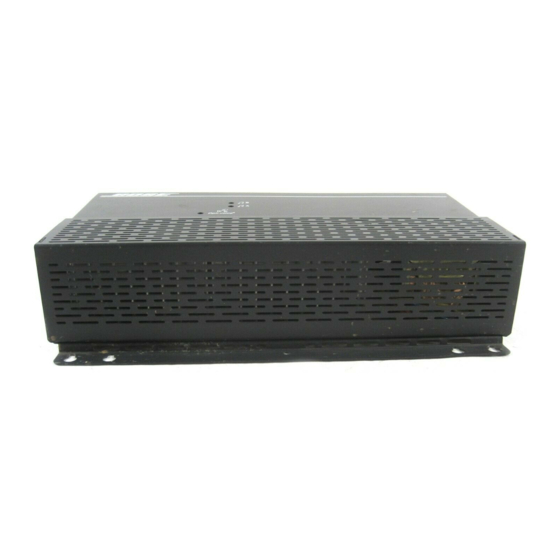
Bose FreeSpace 6 Manual del instalador - Página 27
Navegue en línea o descargue pdf Manual del instalador para Media Converter Bose FreeSpace 6. Bose FreeSpace 6 39 páginas. Business music system
También para Bose FreeSpace 6: Manual del instalador (16 páginas), Especificaciones técnicas (2 páginas)

Use the electronic system card (found in the documentation kit) to mark the settings of the zones used in this installa-
tion. See page 20. This card is to be stored inside the electronic system cover as an aid in troubleshooting problems.
3.1 Power on/off
The on/off switch is on the right side of the system electronics. If desired, the switch can stay in the ON position.
Power consumption without a signal input is typically less than 10 Watts.
3.2 Opti-voice
compressor
®
The Opti-voice compressor maintains a constant output level for inputs varying over a 30dB range. A LED in block 2
glows green when the compressor is active, but flashes red if the paging circuit is close to being overloaded. Use the
compressor when the microphone is used in one or more of the following ways:
• More than one person is using it
• Users vary in how loud they talk into it
• Users vary in how close they hold it to their mouth
Do not use the compressor in cases where:
• There is a tendency for feedback (howling sound, due to loudspeakers being picked up by the microphone)
• The source is a line level signal from a mixer or amplifier with similar signal processing
3.3 Music compressor
The music compressor solves the problem created as the audio industry improves the dynamic range of program
material. The music compressor takes about 25dB out of the 90dB or so dynamic range of modern digital program
material and is quiet and unobtrusive in operation. It boosts the quiet passages and leaves the loud passages alone.
It can even be used on highly compressed material, such as broadcast FM popular music, since it will not do much
additional compression on this already compressed material.
3.4 Setting levels
Make the gain adjustments after completing the connection of all source, loudspeakers, and auxiliary expansion
components. Refer to Figure 1 to locate the blocks referred to in this document.
3.4.1 Music sources
Before beginning adjustments, set the music controls as follows:
Control Name
Music Input Source A (or B)
Trim potentiometer
Music Compressor Enable A
(or B) switches
Remote control volume
Remote control source selection
switch
Block
Set to...
6
Minimum gain (ccw)
7
Enable, unless you choose not to use the Music Compressor
none
3:00 (about 5dB attenuation)
none
Source A (the A LED in block 8 should light)
AM180090_02_V.pdf • May 7, 2002
3.0 System Setup
27
