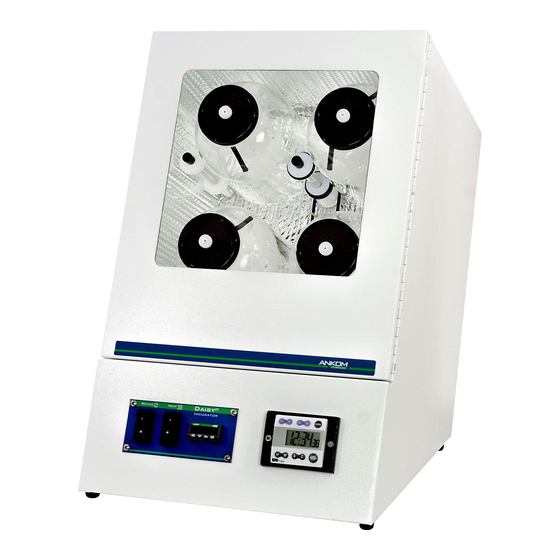
Ankom Daisy II D200I Procedimiento de servicio
Navegue en línea o descargue pdf Procedimiento de servicio para Accesorios Ankom Daisy II D200I. Ankom Daisy II D200I 2 páginas. Controller installation

4. Remove the controller from the plate by
spreading the retaining clips apart (spread
the clips on both sides) and pulling the
controller out of the front of the plate.
ANKOM Technology 2052 O'Neil Rd. Macedon , NY 14502 PH: (315) 986-8090 FAX: (315) 986-8091
Controller Installation
D200/D200I
5. Slide the new controller through the
6. Follow the wiring diagram and wire the
service@ankom.com
Service Procedure
1. Unplug the power cord from the
machine.
2. Use a Phillips head screwdriver to
remove the four screws that secure the
controller and switch plate to the front
of the Daisy.
3. Pull the panel away from the cabinet and
unplug the grey terminal block from the
controller back.
faceplate. Snap the two retaining clips
around the controller body to secure it in
place. Attach the controller plug to the
controller.
plug as shown. Re-install the faceplate.
The Daisy is ready for use.
002
(Page 1 of 2) 08/06/2014
