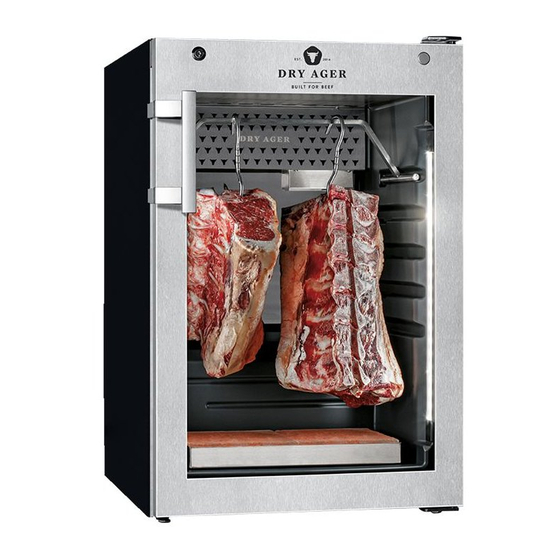
DRY AGER DX 500 Instrucciones de sustitución
Navegue en línea o descargue pdf Instrucciones de sustitución para Secadora DRY AGER DX 500. DRY AGER DX 500 2 páginas.
También para DRY AGER DX 500: Manual de instrucciones (17 páginas), Manual del usuario (14 páginas)

General Information
• UVC bulb for the effective inactivation of harmful molds, viruses,
bacteria and yeasts.
• The UVC bulb needs to be changed annually or once the
appliance shows the warning message "UCC" on the display.
IMPORTANT
Be sure to adhere to these maintenance guidelines.
If there isn't sufficient strength of the UVC light, then
this means the appliance is not functioning correctly.
Important Safety Information
WARNING
To prevent possible injury due to an electrical
shock, be sure to disconnect the power cord or
turn off the circuit breaker / unscrew the fuse
before replacing the UVC bulb.
Model DX 500 Premium | DX 500 Premium S – UVC bulb replacement instructions
1. Compare the UVC bulb type specified in
chapter "Maintenance" in the Use and Care
Manual of your appliance with the bulb type
indicated on the packaging of this replace-
ment bulb.Only use the replacement bulb
if both types match.
4. Wear protection gloves.
7. Pull out the old UVC bulb carefully then
carefully insert the replacement UVC bulb.
Do not remove the outer plastic cover of
the UVC replacement bulb.
DRY AGER MANUFAKTUR – LANDIG + LAVA GMBH & CO. KG – Mackstraße 90 – 88348 Bad Saulgau
Phone: +49 7581 90 43 0 – Email: [email protected] – Web: www.dry-ager.com
INSTRUCTIONS
FOR UVC BULB REPLACEMENT
Don't look into the UV light! Protect skin and
eyes from UV light! Before servicing and clea-
ning disconnect the UV device!
2. Remove all food from inside the appliance
and store them in a cool place temporarily.
5. Unscrew the cover with a
Phillips screwdriver.
8. Mount the cover.
WARNING
Wear protection gloves during the UVC bulb
replacement. Quartz glass very fragile! Do not
touch quartz glass with bare hands. Stains
burn into the glass!
3. Switch the appliance off. Then discon-
6. Pull the cover downwards and remove it.
9. Screw the cover back into place.
Item No. DX0101
Get more accessories here:
www.dry-ager.com/shop
WARNING
nect the power cord or turn off the circuit
breaker.
