3M Dynapro ET 3200 Series Manual de instalación - Página 2
Navegue en línea o descargue pdf Manual de instalación para Monitor 3M Dynapro ET 3200 Series. 3M Dynapro ET 3200 Series 4 páginas.
También para 3M Dynapro ET 3200 Series: Manual de instalación (3 páginas)
Installing the Rack Mount
Mounting using the rack adapter
Important
If installed in a closed or multi-unit rack assembly, the
operating ambient temperature of the rack environment
may be greater than room ambient. Therefore,
consideration should be given to installing the equipment
in an environment compatible with the manufacturer's
maximum rated ambient temperature.
To install the rack adapter in the 19-inch rack, follow
these steps:
To determine where to attach the clip nuts to the
1.
rack, hold the rack adapter in the rack where you
want to mount the ET unit. Fasten the clip nuts
on the rack so that they match the locations of the
slots in the sides of the rack adapter.
The clip nuts will "clip" to the rack; screws and
washers are not required.
Place the ET unit face down on a padded bench
2.
or other protected surface.
Fit the rack adapter over the back of the ET unit,
3.
against the back of the bezel.
80-0453 (Rev. 3.1)
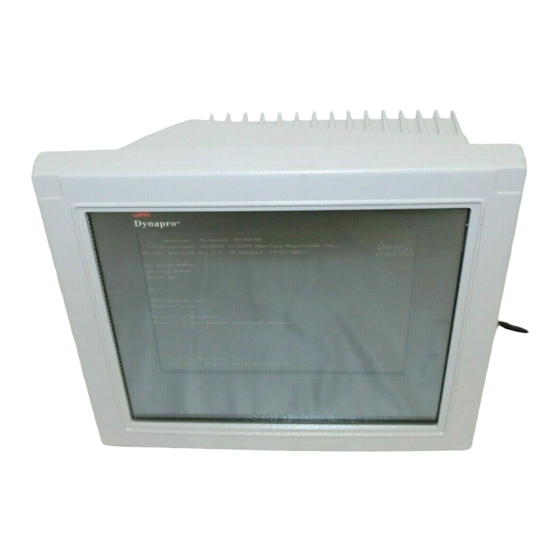
3M Dynapro ET 350 Monitor, ET 3170 Terminal and ET 3200 Series Computers
4.
5.
6.
7.
8.
9.
10.
On each of the twelve #10-32 panhead machine
screws, first put on a lock washer and then put on
a flat washer.
Using a No. 2. Phillips screwdriver, attach each
screw (with lock washer and flat washer) through
the holes in the rack adapter and into the back of
the bezel of the ET unit.
Tighten each screw to a torque of 12 inch-
pounds.
If your unit requires security screws (available as
an option from 3M Touch Systems), insert them.
Pick up the rack adapter with the ET unit
attached and fit it to the rack. Position it to match
the locations of the clips installed earlier.
Fasten the adapter/ET unit to the clip nuts in the
rack with the eight slotted #10-32 x 5/8-inch
countersunk machine screws with a cup washer
on each screw.
Connect your data and power cables.
Page 2