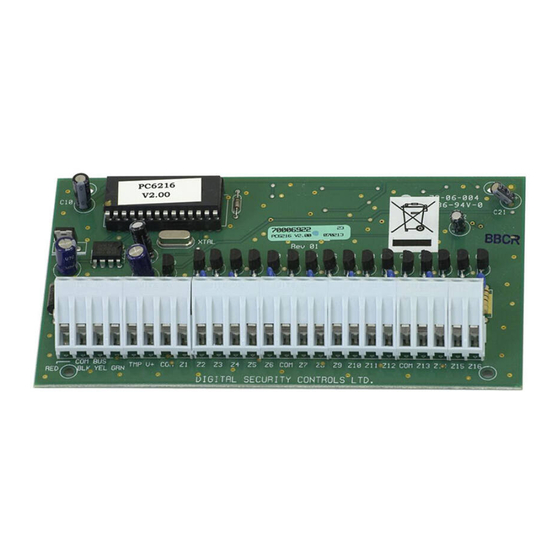
DSC PC6216 Instrucciones de instalación - Página 2
Navegue en línea o descargue pdf Instrucciones de instalación para Unidad de control DSC PC6216. DSC PC6216 4 páginas. Output module
También para DSC PC6216: Instrucciones de instalación (4 páginas)

3.4
Applying Power
After all wiring is completed, apply power to the control panel.
Connect the battery leads to the battery, then connect the AC
transformer. For more information on control panel power
specifications, see the control panel System Manual.
NOTE: Do not connect the power until all wiring is complete.
4. Enrolling and Programming the PC6216
Follow the instructions below for enrolling and programming
your PC6216 module. Refer to your System or Programming
manual for more information on programming.
NOTE: By default, before you can enroll modules, or change
any system programming, a user must tell the system to
"Allow System Service". The system will then allow access to
Installer's Programming for 60 minutes. Any user with a
Master code can tell the system to allow service at a system
keypad. The default Master code is [1234].
See the Maintenance Manual for more information. See the
Programming Manual – "Download Section" for more
information on the "User Allows Serv" toggle option.
4.1
Enrolling
You must enroll the PC6216 module with the panel before you
can program it. After you enroll the module, the system will
ask if you want to enable lamp testing on the module. See
section 4.3 for a description of the lamp test feature.
Follow these steps to enroll the module(s):
1 At a PC6010 system LCD keypad, enter Installer's
Programming ([*][8][Installer's code]).
2 Scroll to Module Hardware, press [*], then, scroll to
Enroll Module, press [*].
3 Scroll to PC6216 16 O/P, press [*].
4 The LCD keypad displays Create Tamper on Desired Unit.
Tamper and then restore the PC6216 module:
a) open and close the tamper switch, if one is installed on
the module OR
b) momentarily disconnect the jumper wire between the
TMP and COM terminals.
The LCD keypad displays PC6216 (nn) Enrolled where (nn)
is the number of the PC6216 module.
5 Record the number of the PC6216 module in the
programming worksheet, opposite.
6 Press any key. The keypad displays Lamp Test Y/N. Press
[*] to toggle between yes and no. To exit, press [#].
7 To exit module enrollment, press [#].
NOTE: If you need to change the Lamp Test option on a
PC6216 module after it has been enrolled, you must delete
and then re-enroll the module.
4.2
Programming
Program the PC6216 module to follow one of 9 custom
groups.
A custom group is a set of 16 programming choices that
correspond to the 16 programmable outputs on each PC6216
module. Example: a PC6216 is assigned to custom group (01),
in which output (05) is programmed as output option (18),
zone follow, for zone (020), which is a fire zone. LED 5 turns
on when zone (020) is in alarm and turns off when zone (020)
is restored and a fire reset is performed. If you assign a
PC6216 module to a custom group, you must also assign an
output option to each programmable output in the group.
More than one module may follow the same custom group.
Assign a Custom Group
1. Scroll to System Area, press [*], PGM Outputs, press [*],
then 4216 Options, press [*].
2. Scroll through the list of PC6216 modules to choose the
one you want to program (01-09). Press [*].
3. Scroll through the available options to choose a custom
group. Press [*] to select.
4. To exit, press [#].
Program a Custom Group
If you have assigned a PC6216 module to a custom group, you
need to program the 16 outputs in the group.
1. Scroll to System Area, press [*], PGM Outputs, press [*],
then 4216 Custom, press [*].
2. Scroll to the custom group you want to program (01-09).
Press [*].
3. Enter the number of the output to be programmed (01-16).
4. Enter the number of the output option to be used for that
output. Refer to your system's Programming manual for
descriptions of the available programmable output options.
5. To exit, press [#].
4.3 Testing the PC6216
If you have enabled the lamp test option on the PC6216
module, master users will be able to conduct a lamp test.
• The LEDs on the PC6216 modules with the lamp test
option enabled turn on for 2 seconds.
Refer to the Maintenance Manual for instructions.
