DSE DK-WP3-HDS Manual del usuario
Navegue en línea o descargue pdf Manual del usuario para Cámara de seguridad DSE DK-WP3-HDS. DSE DK-WP3-HDS 2 páginas. Camera with wifi dvr
USER'S MANUAL
DK-WP3-HDS
Camera with WiFi DVR
Product description
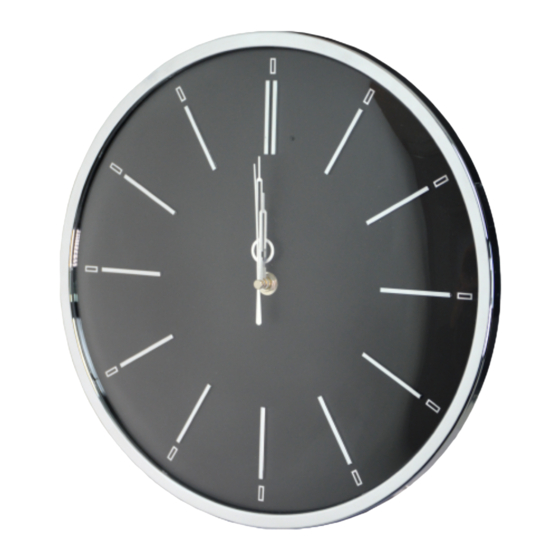
DK-WP3-HDS is a video recorder with an integrated
camera hidden in an elegant wall clock.
1.
Camera
2.
Clock time setting
3.
Compartment for AA clock
4.
Wired network port
5.
Reset button
6.
Micro SD card slot
7.
Mini USB port
8.
Camera on / off switch
9.
Signaling LED
Use as a watch
DK-WP3-HDS is an investigative camera but it is also a
real wall clock in perfect working order so as not to arouse
any suspicion.
To adjust the clock, do the following:
1.
Insert an AA battery into compartment 3
2.
Turn the wheel (2) to adjust the time
Supply
DK-WP3-HDS Camera with hidden video recorder
DSE srl - Digital Surveillance Equipment - www.dse.eu
Document: DK-WP3-HDS 2B1
The camera is able to operate with the power supply of its
own internal 3Ah battery which allows about 6 hours of
autonomy. The battery is recharged by connecting the
USB power supply for 7-9 hours.
The DVR can also operate on mains power with the
included 220V / USB power supply.
In this case, the USB cable is kept connected even during
operation. The LED (9) lights up during charging.
Movie storage
The video files are stored on a micro SD card (not
supplied). The movies have Full HD 1920x1080 resolution
at 25 f / sec. And they are saved in MP4 format with H264
compression
It is possible to use micro SD cards of any brand up to
128 GB of capacity. Over 300 hours of recording can be
stored on a 128GB SD card.
Obviously
it
is
advisable
recording, where possible, in order to record only
meaningful images and not unnecessarily occupy memory
when no action takes place in front of the lens.
Once the memory has run out, the DVR will automatically
overwrite the oldest files if programmed in this way in the
configuration.
The duration of the individual files is also programmable in
the configuration.
Inserting the micro SD card
The first thing to do, if you want to make recordings, is to
insert the micro SD card in the appropriate slot in the DVR
(6)
It is possible to use micro SD cards with capacities up to
128 GB in CLASS 10 or higher.
A class 10 SD card has a write speed of 10 MB / s. Do not
use SD cards with slower speeds as they will lead to
malfunctions.
Pay attention to the insertion direction of the SD card
which will slide into its seat only with the gold contacts
facing the reset hole.
No micro SD card is included in the package.
Charging the battery
Before using the device, it is advisable to fully charge the
battery. To do this, first you have to connect the USB port
of the DVR to the computer or to the USB charger with the
supplied cable.
Full charging takes approximately 8 hours depending on
the
initial
charge
state.
comfortably let the charging complete overnight.
Turn on the device
DK-WP3-HDS is equipped with a power switch on the rear
(8). If you keep this switch OFF, only the clock will work,
but not the camera. When switched on, the DVR does not
emit any visible signal except the LED (9) which signals
the WiFi status (flashing = factory access point mode,
fixed = connected to an external WiFi network). This LED
can later be disabled via the app.
To use the product, you need to use a smartphone or
tablet with the HDSmartIPC app.
Download HDSmartIPC and setup
DK-WP3-HDS
has
been
controlled via wifi with a mobile phone or tablet.
It is not necessary to have a wifi network to use DK-WP3-
HDS as the device is factory supplied in ACCCESS POINT
mode and generates a wifi network itself to which you can
connect with Android / iOS portable devices.
Page: 1
to
use
motion
detection
We
recommend
that
developed
to
be
remotely
you