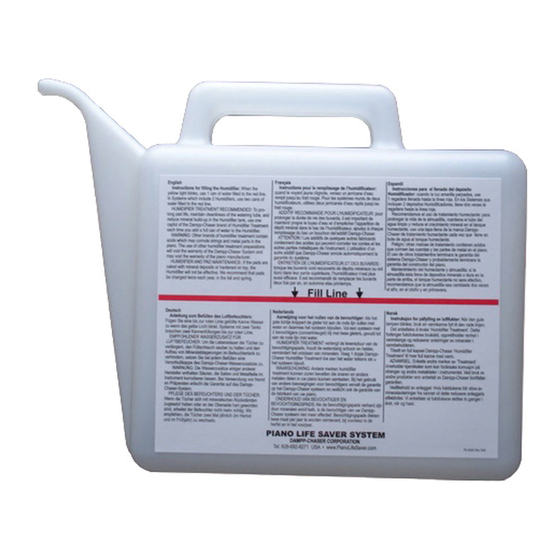
DAMPP-CHASER Piano Life Saver System Manual de instrucciones de instalación - Página 4
Navegue en línea o descargue pdf Manual de instrucciones de instalación para Sensor de espárrago DAMPP-CHASER Piano Life Saver System. DAMPP-CHASER Piano Life Saver System 8 páginas. Backside vertical 8-part system which includes two humidifiers
También para DAMPP-CHASER Piano Life Saver System: Instrucciones de instalación (4 páginas), Manual de instrucciones de instalación (9 páginas), Instrucciones de cuidado y mantenimiento (2 páginas)

Attach two stand-off C-Clips to the top of the Humidistat by
inserting the rectangular base of the clips into the rectangular
holes on either side of the 4 vent slots (Figure 4). Rotate the
clips 1/4 turn. You will feel the clips lock into place. Now snap
the clips onto the 6-inch tube (Figure 2, page 3).
You may prefer mounting the Humidistat on the side of the
piano (Figure 5) using Velcro and the 2-inch screws. Clean the
area on the side wall with the alcohol pad. Let the area dry
thoroughly.
Attach the two Velcro strips to the Humidistat (Figure 6).
Remove the backing from the strips and push the Humidistat
firmly against the wall. Insert the 2-inch screws through the
Humidistat case and into the wall. Use the screws to mount
the Humidistat. Do not use the Velcro for permanent
mounting.
FIGURE 4
FIGURE 6
Drill a 1/2-inch hole (Figure 5) through the bottom board at the
treble end that will enable you to run the Humidifier and
Dehumidifier cords from the back of the piano to the Humidistat.
NOTE: If, during Step 6, you decide to run the Humidistat power
cord through this hole, you will need to make the hole 1-1/4
inches.
In moving the cords through the hole, some installers find it
helpful to elevate the piano by placing a thick phone book or
similar device under the end of the piano where the hole is
located (Figure 7). Elevating the piano also helps to ensure that
you don't drill into the floor.
Drill a hole in the corner
of the bottom board
4
FIGURE 5
FIGURE 7
