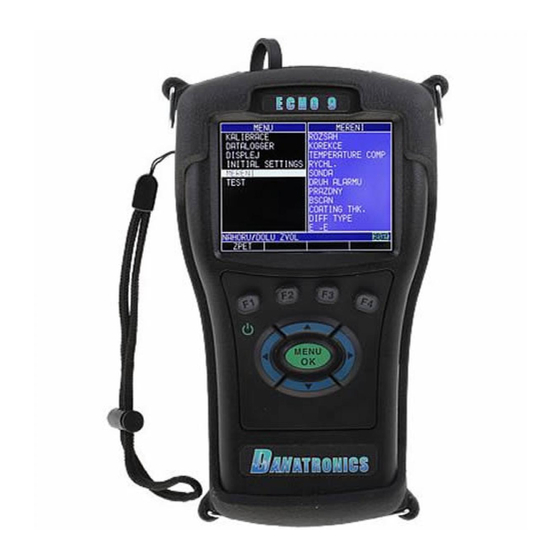
Danatronics ECHO 9 Series Manual de inicio rápido - Página 4
Navegue en línea o descargue pdf Manual de inicio rápido para Equipos de prueba Danatronics ECHO 9 Series. Danatronics ECHO 9 Series 5 páginas. Dataxl mobile
También para Danatronics ECHO 9 Series: Manual (4 páginas)

known value of the step, use the up or down arrow key to adjust the displayed value to the
known value of the step. Press the MENU/OK key to perform the calibration.
The unit will briefly display the calibrated velocity value in the top of the screen and then
return to Measure mode.
b.
Zero Calibration Only
To perform a zero calibration, go to the Calibration mode as shown in part a. While
measuring the thinner step, press the F2 – Zero key. After selecting the F2 key you can take
the transducer off the test block. If the measured value is different than the known value of
the step, adjust the measured value by pressing up or down arrow keys. Press the MENU/OK
key to perform the calibration. The unit will briefly display the calibrated zero value in the top
of the screen and then return to Measure mode.
c.
Velocity and Zero Calibration
To calibrate both velocity and zero at the same time, first go to the Calibration mode as
shown in part a. While measuring the thinnest step, press F2 – ZERO and then use the up or
down arrow keys to scroll through the thickness value number to the known thickness. Then
press the F1 - CAL key. While measuring the thickest step, press the F3 - VEL key after
which time you can take the transducer off the test block. If the displayed measurement is
different than the known value of the step, use the up or down arrow key to adjust the
displayed value to the known value of the step. Press the MENU/OK key to perform the
calibration. For a few seconds in the top left hand corner, the calculated acoustic sound
speed will be displayed.
Note: The order of Velocity and Zero calibration can be reversed. If Velocity calibration is
performed after Zero calibration, the calibrated velocity value will be displayed at the end of
the calibration process.
d.
Delay Line Calibration
Delay Line calibration is done every time the thickness gage is powered on and a transducer
is selected, or when a different transducer is selected during normal operation. Please see
Section 4 above for instructions on Delay Line calibration, which is the same as performing
an Auto Zero.
Note: Once any of the above calibrations are performed, verify the accuracy of the readings
using the test step block.
5. Taking Measurements
After an Auto Zero is performed on a selected transducer, the unit automatically goes to the
Measure mode as shown below.
To take thickness readings, simply apply couplant to the material's surface followed by the
transducer to measure the thickness. Depending on the settings, the display may show other
parameters. For more detailed information on Measure mode, please refer to the ECHO Series
User's Guide on the CD provided with the gage.
Ver: 1.1B
4
