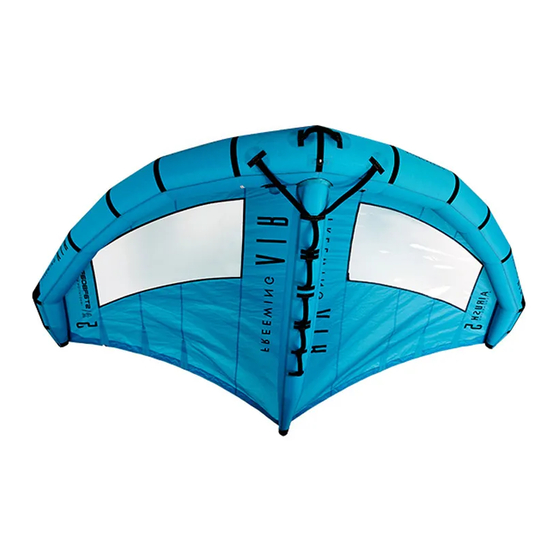
Airush Starboard Freewing Air 5 Manual del usuario - Página 16
Navegue en línea o descargue pdf Manual del usuario para Aviones Airush Starboard Freewing Air 5. Airush Starboard Freewing Air 5 20 páginas.

R E P A I R S
You will be able to use the repair kit enclosed in the wing bag.
Note: If the leak is too big, please contact a kite repair professional.
Before proceeding with any kind of repair, it's important to follow the
following steps:
• Repair it in a place that is sheltered from sand, water and wind. Use a clean and flat
surface to work on.
• Surfaces will need to be cleaned with freshwater or preferably alcohol.
• You will need the repair kit supplied and a marker.
R E P A I R O N T H E L E A D I N G E D G E
When you have a leak on the leading edge or central strut, it's important to follow
the next steps; taking out the bladder from the wing, locate the leak on the
bladder and mark it, repair with the rubber patch and finally put the bladder
inside again. Pump it softly until the bladder is perfectly mounted.
1. LOCATE THE LEAK WITH THE BLADDER MOUNTED:
Pump the wing and try to hear where the leak is located, pay special attention
around the valve area. In case you cannot hear the leak, you can spray water onto
the leading edge and strut. You will see bubbles popping out where the leak is. We
do this step first before dismounting the bladder as sometimes the leak may occur
very next to the tips or the zipper. In this case, the repair can be completed with
the bladder mounted on the wing, you can skip steps 2 and 4 if this is your
situation. If the leak is not close to these areas or we simply don't detect the leak
then we need to remove the bladder.
- 16 -
