3S Vision N9012 Instalación del hardware - Página 2
Navegue en línea o descargue pdf Instalación del hardware para Cámara de seguridad 3S Vision N9012. 3S Vision N9012 2 páginas. Mini dome network camera
RJ45
M12
Connect the product to the switch hub and PC.
Prepare the product, your PC and switch hub ready for connection.
Make sure that your PC has a LAN port available for connection to
the network cable of the product.
1
Connect to the power source (as shown in the figure).
Please connect with your power adaptor directly.
3
(as shown in the figure).
Prepare the product, your PC and switch hub ready for connection.
Make sure that your PC has a LAN port available for connection to
the network cable of the product.
5
Connect to speaker
Connect the speaker to the "LINE OUT" socket.
7
Turn on the power of the PC and hub.
RMIM-01G05044 Ver:01
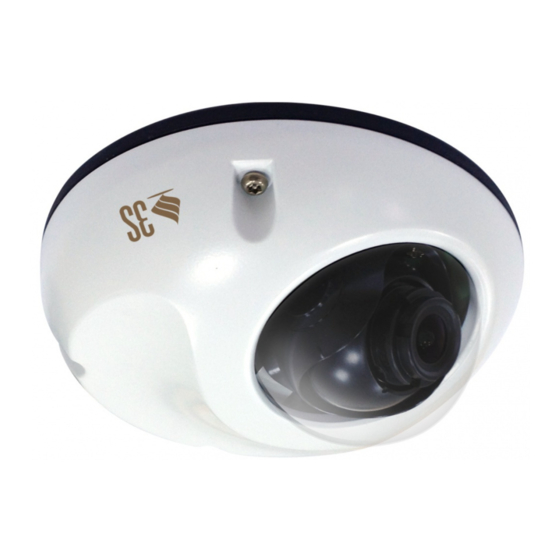
Indoor
Mini Dome Network Camera
1
TX+
DC+/DC-(White/Orange)
2
TX -
DC+/DC-(Orange)
3
RX+
DC-/DC+(White/Green)
4
DC+/DC-(Blue)
● Power
● PC
● HUB
● Audio
Connec on Diagram
5
DC+/DC-(White/Blue)
6
RX-
DC-/DC+(Green)
7
DC-/DC+(White/Brown)
8
DC-/DC+(Brown)
2
Connect to the switch hub (as shown in the figure).
Use a network cable and plug it in the LAN port of the product.
Plug the other end of the cable in the LAN port of the hub.
4
Connect to microphone in.
Connect the microphone with 3.5mm phone jack into the "MIC IN".
Connect to Alarm/Reset
6
Connect to an extension I/O terminal block which is used to connect
external infrared detectors, beepers and smoke detectors.
For more information, please refer to the attached CD.
MIC
●
Audio
●
Power
●
High dB alarm
●
Alarm
●
● HUB
DO
GND
DI
GND
● Switch
● POE Switch
● MIC
● High dB alarm
● Alarm
Network Camera