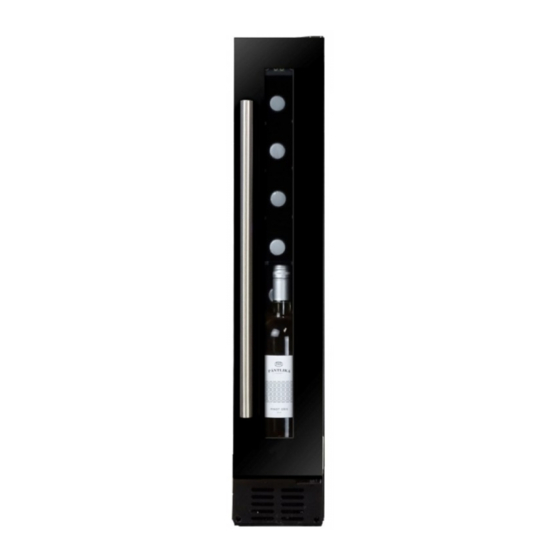
Dunavox DX-104.375DSS Manual de instrucciones - Página 5
Navegue en línea o descargue pdf Manual de instrucciones para Enfriador de vino Dunavox DX-104.375DSS. Dunavox DX-104.375DSS 13 páginas.
También para Dunavox DX-104.375DSS: Manual de instrucciones (13 páginas)

•
The appliance must be installed to all electrical,
connections in accordance with state and local
codes.
•
IMPORTANT:
HIGH
During
periods
condensation may appear on outside surfaces of
glass door. This condensation will disappear
when humidity levels drop. For prevention, it is
advisable to install the appliance with sufficient
ventilation in a dry and/or an air-conditioned
place.
NOTE: The appliance must be positioned so
that the plug is accessible.
BUILT-UNDER INSTRUCTIONS
Make sure your installation does not block the front
ventilation grille. The unit is designed to fit under
worktops between 820 and 890mm in height.
Remove the adjustable ventilation grille screws and
slide it to the required height. Tighten the screws to
lock the grille in position.
If the unit is fully integrated to be installed for fitting
kitchen plinth, make sure that the ventilation gaps in
the plinth are at least 300 square centimeters and
remove the ventilation grilles, so that warm air can
disperse unhindered. Otherwise the appliance has to
work harder, resulting in an increase in electricity
consumption.
NOTE: When pushing the appliance into the niche,
make sure that the mains cable does not get
trapped.
FULLY INTEGRATED BUILT-IN-COLUMN
INSTRUCTIONS
The unit door seals the installed unit almost
completely, so an air vent must be provided in the
base of the housing. Warmed air must be conducted
via the ventilation shaft to the rear wall of the
housing and then expelled upwards. The ventilation
channels should measure at least 200 square
centimeters in cross-section.
WARNING: To ensure the proper functioning of the
appliance, air vents should never be blocked or
covered.
BUILT-IN CABINET INSTRUCTIONS
Make sure your installation does not block the front
ventilation grille. And be sure the door will open and
close properly in the chosen location.
YOU CAN FIND THE DETAILED
INSTALLATION DRAWING IN THE
ATTACHMENT
ELECTRICAL CONNECTION
WARNING:
Improper use of the grounded plug
can result in the risk of electrical shock. If the power
HUMIDITY
CLIMATE.
of
high
humidity,
cord is damaged, have it replaced by a qualified
electrician or an authorized service center.
All electrical work should be carried out by a suitably
qualified and competent person in accordance with
local and national safety regulations.
some
Check that the voltage marked on the product
corresponds with your supply voltage.
Connect this appliance to a separate, at least 13A
circuit.
Connection should be made via a suitable switched
socket which is easily accessible. For extra safety it
is advisable to install a residual current device (RCD)
with a trip current of 30mA.
Have the receptacle and the circuit checked by a
qualified electrician to ensure that the socket is
grounded correctly.
Note: In locations where there is frequent lightning,
it is advisable to use surge protectors.
Do not connect the appliance to the mains electricity
supply by an extension lead. Extension leads do not
guarantee the required safety of the appliance (e.g.
danger of overheating).
The appliance must not be connected to an inverter
and must not be used with a plug adapter as these
can cause damage to the appliance's electronic unit.
The cord must rest securely behind the appliance
and not be allowed to lie or hang unprotected.
WARNING:
THIS APPLIANCE MUST BE EARTHED.
INSTALLING THE HANDLE
IMPORTANT: Do not overtighten the screws & do
not use power tools to install the handle. Overtighten
screw causes glass breakage.
DESIGN 1 –
