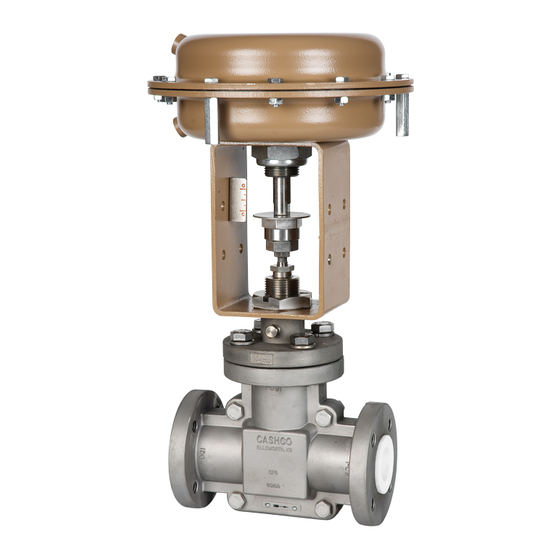
cashco 521 Manual de instalación, uso y mantenimiento - Página 8
Navegue en línea o descargue pdf Manual de instalación, uso y mantenimiento para Unidad de control cashco 521. cashco 521 20 páginas. Total tfe, globe-pattern control valve body iom

of pos si ble permeation need considerations
similar to those outlined in Section III.C.1.
E. Plug, Bellows, or Both Replacement:
1. Disassemble the body assembly (BA) per
V.D.1.-11. previous.
2. Hand-grasp the bellows sub-assembly (8)
and hand-rotate the plug head (3) until the
plug retainer strip (4) ends come into view
through the slot located on the side of the
plug head (3).
3. Using a pointed end pick tool, get under one
end of the plug retainer strip (4) and extract
through the plug's (3) slot. Manually rotate
the plug head (3) end to allow more of the
plug retainer strip (4) to be extracted. When
able to grasp with needle nose pliers, lightly
pull the plug retainer strip (4) and rotate the
plug head (3) as necessary until the strip
(4) is fully re moved.
4. Slide plug head (3) off the stub-end of the
bellows sub-assembly (8).
5. Discard the plug head (3), if worn. Always
discard the plug retainer strip (4); only use
a new plug retainer strip (4) at reassembly.
6. Do not attempt to field remove embedded
nut (8.2) from inside the bellows (8.1); these
parts are only available as a sub-assembly
(8). If embedded nut (8.2) is badly corroded,
re place the entire bellows sub-as sem bly (8)
and give strong consideration to alternate
ma te ri als for stem sub-assembly (9) and
bellows nut (8.2). If em bed ded nut (8.2)
is "loose", consider po ten tial causes and
re place bellows sub-as sem bly (8).
7. If bellows sub-assembly (8) is to be reused,
thor ough ly clean the valleys of the bellows
(8.1) con vo lu tions (inside and outside) for
the smallest of debris. Clean the grooves
of the bellows (8.1) and the plug head (3)
where the plug retainer strip (4) locates.
8. Place the plug head (3) over the bellows
sub-as sem bly (8) end. Insert a new TFE
plug re tain er strip (4) into the slot/groove.
Rotate the plug head (3) as necessary while
feeding the strip (4) until the strip (4) is fully
located into the groove. (No cutting of the
strip (4) should be required.)
8
F. Packing Ring Replacement:
1. Disassemble the body assembly (BA) per
V.C. previous, including separation of body
as sem bly (BA) from actuator assembly (AA).
2. Loosen packing gland nut (5) until fully
dis-engaged from bonnet (2) by rotating
CCW (viewed from stem (9) end). Remove
packing rings (6) from packing box (re cess)
in bon net (2).
3. Examine wall surface inside the bonnet (2)
for any sign of cor ro sion.
4. Hone the bonnet's (2) packing box to a #16
RMS finish. Burnish the stem sub-assembly
(9) to a #4 RMS finish in the packing (6)
contact area.
G. Reassembly of Body Assembly:
1. Place body assembly (BA) (1) in a vise with
the bonnet (2) end directed upwards.
2. Join the stem sub-assembly (9) to the
bellows sub-assembly (8) (with new plug
head (3) already installed) by ro tat ing the
stem's (9) lower end into em bed ded nut (8.2)
CW (viewed from bellows (8.1) open end).
Rotate the stem sub-assembly (9) as far as
possible while hand-grasping the bellows
(8.1) DO NOT USE A WRENCH IN THIS
OP ER A TION. A light coat of Fluorolube
(™ of Occidental Chem i cal Co.) lubricant
may be applied to the en gaged (threaded)
end of the stem sub-assembly (9) if fluid
com pat i ble.
3. Place spacer washer (10) over the threaded
upper end of stem sub-assembly (9).
4. Referring to Figure 7 for proper orientation
and quantity of Belleville spring washers (7),
place the spring washers (7) over the upper
end of stem sub-assembly (9).
5. Position a new bonnet gasket (11) into recess
of body sub-assembly (1).
6. Observe the underneath side of bonnet (2)
where square recess is located. Position
com bined bellows sub-assembly (8) and
stem sub-assembly (9) so that the anti-
ro ta tion "stop" (square part of stem)is aligned
to slip into the bonnet's (2) square recess.
IOM-521
