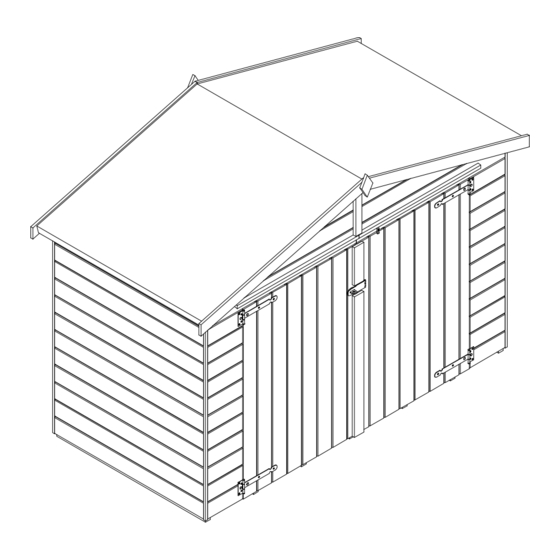
Dunster House ARIANE H4-2412BSH Manual de instalación - Página 13
Navegue en línea o descargue pdf Manual de instalación para Casas jardín Dunster House ARIANE H4-2412BSH. Dunster House ARIANE H4-2412BSH 15 páginas. Heavy duty bike shed 2.4m x 1.2m (8ft x 4ft)
STEP 12: WIND BRACE
Items:
4x
ST-PT35351210 (Front+Rear)
2x
ST-PT35351150 (Side)
32x 35mm Screw
Installing the Wind Braces
Front view
35mm
Side view
Screw
Front
Wind Brace
STEP 13: FELT
Items:
1x
Felt
278x 10mm Clout Nail
Installing the Felt
Felt layer 2
Assembly Steps
Pre-drill parts before fixing with screws
12a) Position the wind braces as shown in the diagram below. Make sure that they
are flush with edge of the roof board.
12b) Fix each wind brace by using 35mm screws. Use 6 screws for each front and
rear wind brace. Use 4 screws per each wind brace for the side. Refer to the image
below for more information.
35mm
Screw
Front
Wind Brace
Rear
Wind Brace
Side Wind Brace
Pre-drill parts before fixing with screws
13a) Place Felt layers 1 and 2 as shown in the diagram below. Keep an overhang of
80mm on each side. Fix the felt onto the roof board and then fix the overlaps onto the
wind braces with the 10mm clout nails.
13b) Position Felt layer 3 as shown in the diagram below. This layer needs to overlap
layers 1 and 2 by 200mm. Felt layer 3 might require a horizontal cut, if your overlap is
too long. Fix Felt layer 3 to felt layers 1 and 2 and then fix the overlaps onto the wind
braces. Use 10mm clout nail for all fixings.
Overlap attachment - (Front view)
Felt layer 2
10mm Clout Nail
on
(both sides)
Felt
layer 1
Felt
ST-PT35351210
ST-PT35351150
Felt layer 3
10mm Clout Nail
(Distance between nails
70mm approx.)
Position of
Wind Braces
Felt
layer 1
Page 13