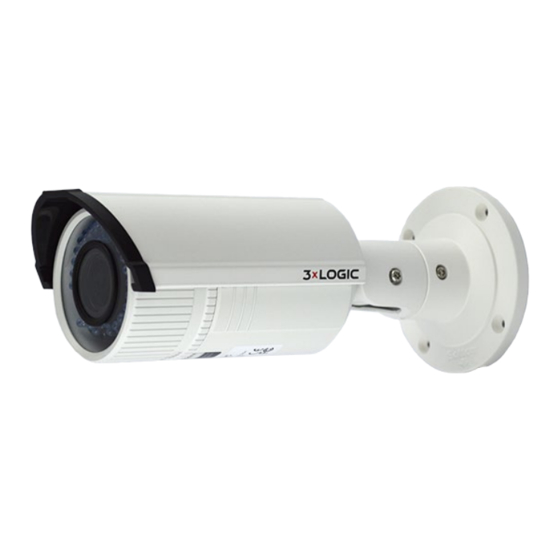
3xLogic VISIX V Series Manual de inicio rápido - Página 4
Navegue en línea o descargue pdf Manual de inicio rápido para Cámara de seguridad 3xLogic VISIX V Series. 3xLogic VISIX V Series 12 páginas. All-in-one camera gen ii

Installation
INSTALLATION - WALL MOUNT
Steps:
Attach the drill template (supplied) to the wall where the camera is to be mounted.
Drill screw holes in the wall according to the No.1 hole of the drill template.
If you need to route cables through the wall (or ceiling), cut a cable hole according to the drill
template. Skip this step, if you want to route the cables on the surface of the ceiling.
Route the cables of the camera.
Secure the camera to the wall (or ceiling) with expansion screws. Refer to Figure 1-3.
VIEW ANGLE ADJUSTMENT
3-axis (pan/tilt/rotation) adjusting allows adjustment for optimum camera rotation and placement.
12000 Pecos St., Suite 290, Westminster, CO 80234 | www.3xlogic.com | (877) 3XLOGIC
Ceiling Mounting
1
2
1:Screw Hole for
Bracket
1
Drilling Holes in the Wall
Figure 1-2
Secure the Camera
Figure 1-3
V-Series Camera Quick Start Guide | VX-4V-B-RI
2
1
2
2:Screw Hole for
Mounting Base
1
2
4
