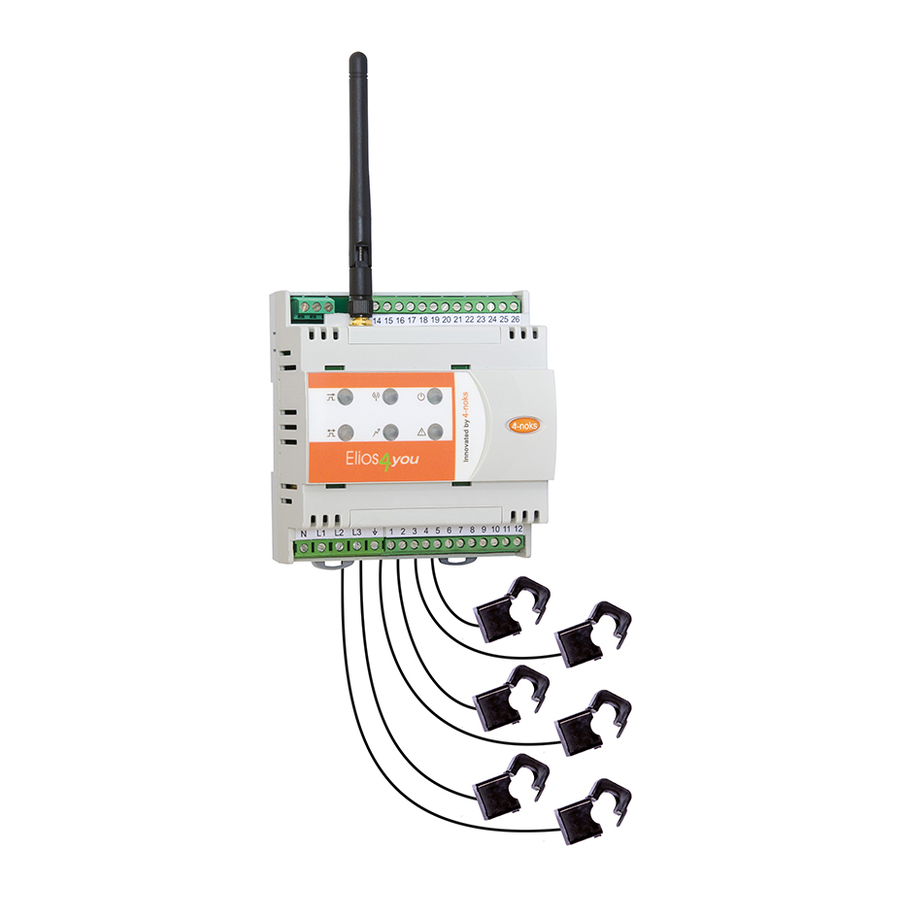
4-noks ELIOS4YOU Pro Manual de instalación e instrucciones - Página 8
Navegue en línea o descargue pdf Manual de instalación e instrucciones para Instrumentos de medida 4-noks ELIOS4YOU Pro. 4-noks ELIOS4YOU Pro 17 páginas.
También para 4-noks ELIOS4YOU Pro: Manual rápido (2 páginas), Manual rápido (2 páginas)

EN
5.
Operation of button (table 2)
Function
Command
Meaning
Press briefly
First
Procedure required by the "Elios4you" App when the device is first configured.
(6 second
configuration
For more information: www.4-noks.com/tutorial
approx)
Press and
hold (30
Reset
The Reset function restores the parameters of the device to the factory settings
seconds
approx)
6.
Meaning of Elios4you Pro terminal numbers (table 3)
Terminal
Meaning
1
SIG + (CT L1 Production – white ), red wire
2
SIG - (CT L1 Production – white ), black wire
3
SIG + (CT L2 Production – white ), red wire
4
SIG - (CT L2 Production – white ), black wire
5
SIG + (CT L3 Production – white ), red wire
6
SIG - (CT L3 Production – white ), black wire
7
SIG + (CT L1 Grid – yellow), red wire
8
SIG - (CT L1 Grid – yellow), black wire
9
SIG + (CT L2 Grid – yellow), red wire
10
SIG - (CT L2 Grid – yellow), black wire
11
SIG + (CT L3 Grid – yellow), red wire
12
SIG - (CT L3 Grid – yellow), black wire
7.
Technical specifications
Control system for three-phase photovoltaic systems with Wi-Fi connection and App for smartphone/
General specifications
tablet. Maximum measurable power 15 kW, 50 kW or 100 kW (depending on model)
Power supply
400 V (3x 230 Vac + neutral) ± 10% 1.8 W
•
Wi-Fi 802.11b/g/n
Radio specifications
•
Access point (AP) Station (STA), B,G,N or mixed mode
Memory
Data log up to two months, in the event of no connection to tablet, with sampling every 15 minutes
Status displays
6 x Led
Connections
Screw terminals for power connections, measurement CTs, alarm inputs and control outputs
Current measurement
With split core CT (internal Ø 15 mm max)
Antenna
External antenna on SMA RP screw connector for data transmission via Wi-Fi
•
Relay output (max 10 A @ 230 Vac)
Outputs
•
Control output 0-10 Vdc
Inputs
2 x voltage-free alarm contact (N.O.)
•
Operating conditions: 0 to +50°C; <80% R.H., non-condensing
Ambient parameters
•
Storage conditions: -20 to +70°C; <80% R.H., non-condensing
14
Degree of protection
IP20
Dimensions (L x H x D)
6-module DIN rail housing 105 x 110 x 60 mm
8.
Troubleshooting
1) Main screen of the "Elios4you" App never shows power produced by the photovoltaic system
Turn the production CTs (white label) about face, so that the green dot or the arrow on the inside of the CT is positioned on the
9
opposite side to that currently in use.
Check that the cores of the CTs do not show any signs of internal damage.
9
2) Power level displayed by the App is much lower than that read by the inverter
Check that the grid CTs (yellow label) are positioned around the entire bundle of phases coming from the meter as in the diagram
9
(see fig. 2); it is possible that the CTs may have been placed on a branch circuit.
Check that one or more CTs do not show any clear signs of damage internally.
9
3) Consumption detected and power produced follow the same curve
Check that the grid CT (yellow label) is positioned around the entire bundle of phases coming from the power company meter as in
9
the diagram; in all probability, only the cable carrying consumption data is being detected.
Check that only the phase conductor of the system passes through the two CTs: if both phase and neutral pass through, an error
9
will be induced.
Check that the two CTs do not show any clear signs of damage internally.
9
4) Power usage by the consumer appears to be detected in the grid icon
Check that the grid CTs (yellow label) are positioned on the lines leaving the relative meter, upstream of any branch made within
9
the electrical system.
5) There is never any indication on my system of power being supplied to the grid
Check that the grid CTs (yellow label) are positioned on the lines leaving the relative meter, upstream of any branch made within
9
the electrical system.
6) At night there is zero usage, whereas during the day consumption is always higher than normal
Check that the grid CTs (yellow label) are positioned on the lines leaving the relative meter, upstream of any branch made within
9
the electrical system.
Check for correct correspondence between the sequence of supply voltages connected to the main switch and the sequence in
9
which the CTs are positioned on the various conductors.
7) App shows very high levels of consumption, whereas usage by the consumer is minimal
Check that the grid CTs (yellow label) are positioned on the lines leaving the relative meter, upstream of any branch made within
9
the electrical system.
Turn the grid CTs (yellow label) about face, so that the green dot or the arrow on the inside of the CTs is positioned on the opposite
9
side to that currently in use.
9.
Conformity
All models comply with Directives 2014/30/UE(EMC), 2014/35/UE (LVD) e 2014/53/UE (RED). The appliance (or product) is subject to sorted
collection, in compliance with local regulations on waste disposal currently in force. The Astrel Group hereby declares that this product is
in compliance with essential requirements and other pertinent provisions established under Directive 2014/53/UE (RED). The declaration of
conformity can be viewed at www.astrelgroup.com.
10. Safety and disposal
Electrical and electronic equipment requiring sorted collection, in compliance with local regulations on waste disposal currently in force.
Astrel Group reserves the right to change product specifications without notice.
EN
15
