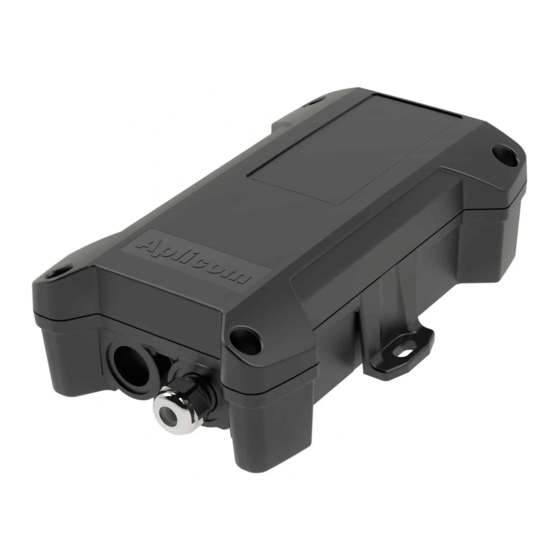
APLICOM A9 IPEX Manual de instalación - Página 3
Navegue en línea o descargue pdf Manual de instalación para GPS APLICOM A9 IPEX. APLICOM A9 IPEX 12 páginas.

Package content
Figure 1.
Preparation and installing of the A9 IPEX unit
The following steps must be made in right order to start the unit immediately for full operation.
1. Remove the cover of the unit
2. Install SIM card. Figure 2.
3. Connect internal battery connection. Figure 3.
4. Connect unit to external power source by using A9 IPEX cable or A9 NEX/TRIX power and IO cable
(D337050).
5. Download your configuration to the unit by using A9 NEX/TRIX data cable D337055. Figure 4.
6. Close the unit and tight up four cover screws. Avoid extreme torque. (0,8 – 1,0 Nm). Refer to Figure 5
on how to install the top cover correctly. Please follow this instruction because otherwise there is risk
that the antenna connector will broke.
7. Connect external power cabling and other needed connections.
8. Mechanically install the unit to carefully selected place.
9. Connect the vehicle power supply to A9 IPEX wiring power leads with fuse protection. Please check
the connection according to configuration of the unit, if only PWR and GND is connected, or is there
also IGN connected.
Note 1. The SIM card must be installed before the internal battery is connected.
Note 2. SW download is done using connector shown Figure 4.
Install top cover (use torx bit size TX15).
Figure 2
Includes
A9 IPEX Unit
7 pcs solder joint connectors
4 pcs TORX screws for cover assembly
2 pcs self drilling screws for unit assembly
SIM card is also needed. Order card from
teleoperator or from Aplicom.
Figure 3
3
