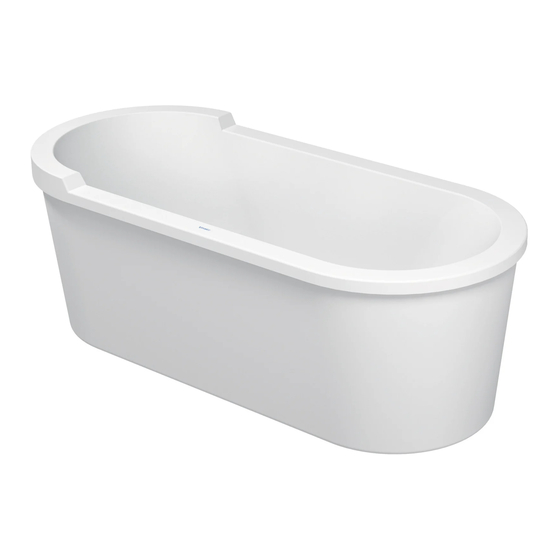
DURAVIT Happy D 71 19 Series Instrucciones de montaje - Página 14
Navegue en línea o descargue pdf Instrucciones de montaje para Productos de fontanería DURAVIT Happy D 71 19 Series. DURAVIT Happy D 71 19 Series 20 páginas. Whirltubs freestanding

de
Montage
17 Netzanschluss herstellen. Potentialausgleich anschliessen. (Siehe
Elektroinstallation.)
18 AcHTuNg! Für Wannen mit Zulauffunktion muss ein Rohrunterbre-
cher verwendet werden.
19 Wanne in die Verkleidung einsetzen. Dabei darauf achten, dass sich
die Abstandshalter innerhalb der Schürze befinden.
20 Die Wanne bis zum Überlauf mit Wasser füllen, um die Wanne auf
Dichtigkeit zu prüfen. System 30 Minuten aktivieren.
21 Wasser ablassen.
22 Wanne wieder aus der Verkleidung heben.
23 Wanne, Ab- und Überlaufgarnitur, den flexiblen Schlauch, den Si-
phon und alle Verbindungen sorgfältig auf Dichtheit prüfen.
24 Wanne in die Verkleidung einsetzen. Dabei darauf achten, dass sich
die Abstandshalter innerhalb der Schürze befinden.
25 Die Armaturen können jetzt installiert werden.
14
MAL_53461/05.09.2
en
Mounting
Connect wire from the control unit to the mains connection box and the
equipotential earth wire to the connection point. (See Electrical Instal-
lation.)
ATTENTIoN! A pipe interrupter has to be used for tubs with water inlet.
Place the tub into the skirting making sure that the brackets on the tub
are located within the skirting.
Fill the tub to check if the outlet and overflow fittings are water tight.
Activate system for 30 minutes in order to check water tightness.
Drain off the water.
Lift the tub out of the skirting.
Check tub, waste and plumbing kit, hose, trap and connections carefully
for leaks.
Lower the tub into the skirting. Make sure that the brackets are placed
within the skirting.
The taps can now be installed.
