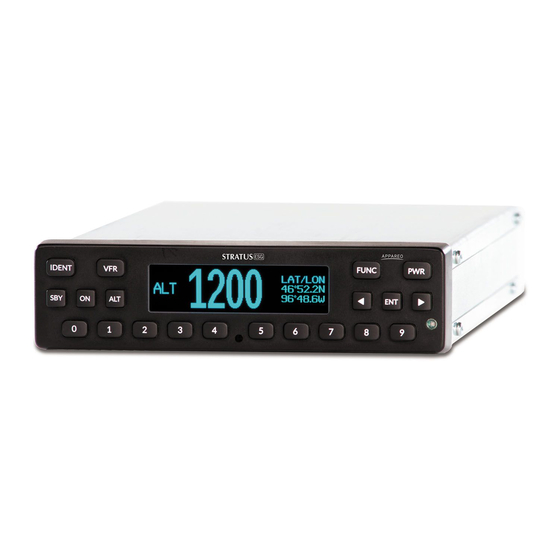
Appareo STRATUS ESG Manual - Página 7
Navegue en línea o descargue pdf Manual para Receptor Appareo STRATUS ESG. Appareo STRATUS ESG 9 páginas. Portable receiver connector plate
También para Appareo STRATUS ESG: Manual del piloto (13 páginas), Manual de instalación (5 páginas)

Q: Why does my Stratus 2i have a flashing yellow GPS light
and no GPS reception even though the transponder has good
satellite reception?
1. Stratus 2i might need a factory reset. Perform a factory reset by pressing
and holding the power button on top for 30 seconds. After it reboots, the GPS
light will turn solid green if GPS lock is achieved.
2. There might be loose wiring. Verify that all wiring between the
transponder's 37-pin DSUB connector and the Stratus 2i 9-pin DSUB
connector is secure.
Q: How do I stop my COMM radio from blocking GPS
reception?
1. Install a GPS notch filter on the back of the COMM radio's antenna as close
as possible to the COMM radio. These GPS notch filters may need to be
installed at a VHF COMM radio's antenna output or at an older 121.5 ELT
transmitter's antenna output.
2. Check all coaxes, BNC connectors and pigtails from the back of the COMM
radio for broken shielding, poor solder connections, loose RF fittings, broken
tabs on King RF feedthroughs, or other damage.
3. Inspect VHF COMM radio antennas for cracks, poor bonding, or other
damage.
4. In rare occurrences, if you're using an older COMM radio, it may be radiating
a harmonic with a frequency similar to that of the GPS satellites. This can
cause the satellite signal to be overpowered and not received by the GPS
antenna. You will need to replace the COMM radio.
Q: When installing Stratus ES/ESG, the transponder isn't
seating completely in the rack and isn't aligning with the D-sub
connector on the backplate.
Pre-fit the transponder into the mounting rack before installing the rack in the
aircraft.
1. With the backplate and connectors removed, slide the transponder into the
tray and secure it by tightening the locking mechanism.
2. Install the backplate and connectors, then tighten the backplate into
