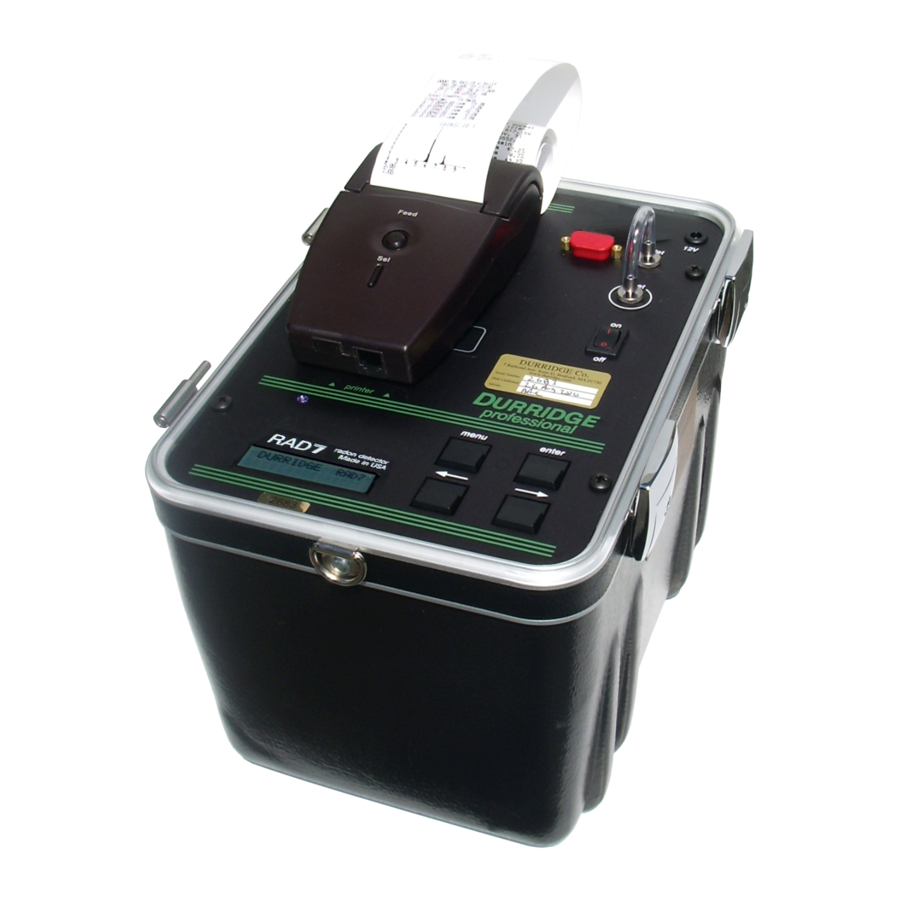
DURRIDGE RAD7 Manual del usuario - Página 5
Navegue en línea o descargue pdf Manual del usuario para Sensores de seguridad DURRIDGE RAD7. DURRIDGE RAD7 7 páginas. Passive, slow response radon in water accessory
También para DURRIDGE RAD7: Manual de conexión Bluetooth (4 páginas), Manual de conectividad (4 páginas), Manual del usuario (15 páginas)

2.1 Purge the RAD7
First, purge the RAD7 with dry air in an open loop for at least 5 minutes, then switch to 1-day protocol:
select Setup, Protocol, 1-day, and push [ENTER]. Start a reading, still sampling fresh air through a
drying unit. Go to the third status window (push the [Menu] key, then push [ENTER], [ENTER], Rt
Arrow, Rt Arrow, and observe the relative humidity in the top right corner. Keep the reading going
until the RH is below 9%, then switch off the RAD7.
2.2 Hook up to the Operational Check
Hook the RAD7 up to the Operational Check in a closed loop, using the tubing and Small Drying Tube
provided with the device. Use the configuration shown in Figure 2, with the Small Drying Tube
upstream of the RAD7, and the Operational Check connection upstream of the Small Drying Tube. If
one end of the Small Drying Tube has started to turn pink, indicating that it is wet, that end should be
positioned closest to the RAD7 outlet.
2.3 3-Hour Test
Switch on the RAD7 and press the menu key. Select 1-day protocol (
[ENTER]
). Change the Recycle number to 6 (
Setup, Format, Long, [ENTER])
Format to Long (
switch off the RAD7.
Switch on the RAD7 printer. Switch on the RAD7 and let it print out the header, including a review of
the settings. Check the printed review to make sure the Cycle time is 00:30 (30 minutes), the Recycle
number is 06, and Format is set to Long (which ensures that a spectrum is printed at the end of each
Cycle). Open the ball valves on the Operational Check container and start a test (
[ENTER]
).
Keep the measurement going until all six cycles are complete and the summary, including the
cumulative spectrum, is printed out (3 hours). When the test is complete, ensure that the RAD7's pump
is idle, then close the inlet and outlet valves on the Operational Check before disconnecting the tubing.
Once sealed, the Operational Check will begin to build up radon again, and will be ready for another
check in a few weeks' time.
2.4 Cumulative Spectrum
The cumulative spectrum (based on counts from multiple cycles) gives excellent diagnostic information
on the health of the instrument. With the Recycle set to 6 cycles, as indicated above, at the end of the
sixth cycle the RAD7 will automatically finish the run and print out a run summary. This consists of
some data, a bar chart of the six readings and then the cumulative spectrum. That spectrum should
show a sharp peak in the A window, about midway between the boundaries. There may also be peaks in
the other three (B, C, D) windows and at 5.3 MeV (210-Po) just to the left of the A window. Please see
the RAD7 manual for a description and image of some possible pathological spectra to watch out for.
2.5 Leak Check
If the RAD7 had developed a leak, the radon concentration in the loop would fall rapidly. Thus for each
month, a record of the slope should also be maintained, as the radon concentration falls off over time
from decay and any leakage. If during one month the slope is steeper than usual, that would be an
indication of a leak in the loop somewhere.
Sec$on 2
Operational Check
Setup, Protocol, 1-day,
Setup, Protocol, Recycle, 06, [ENTER]
. Put the RAD7's infrared printer in place and
), and the
Test, Start,
5
