Datalogic CBX500 Manual de instalación - Página 13
Navegue en línea o descargue pdf Manual de instalación para Lector de códigos de barras Datalogic CBX500. Datalogic CBX500 17 páginas. Scanning connection box
También para Datalogic CBX500: Manual de instalación (16 páginas), Manual de instalación (17 páginas)

NETWORK BUS TERMINATION
ID-NET™
The ID-NET™ termination resistance
switch enables or disables the insertion
of the bus termination resistor for ID-
NET™ network applications.
CAUTION: In ID-NET™ network applications the termination resistor must
be enabled ONLY on the first and last devices of the chain. On all the other
devices this resistor MUST NOT be enabled (OFF).
RS485 HD
The RS485 HD termination resistance
switch enables or disables the insertion
of the bus termination resistor for RS485
Half Duplex Multidrop applications.
CAUTION: In Multiplexer applications the termination resistor must be
enabled ONLY on the last device of the chain, the farthest away from the
Multiplexer (assuming the Multiplexer is the first device of the chain). On all
the other devices this resistor MUST be OFF (disabled).
This switch must also be OFF (disabled) when Fieldbus Modules are
used.
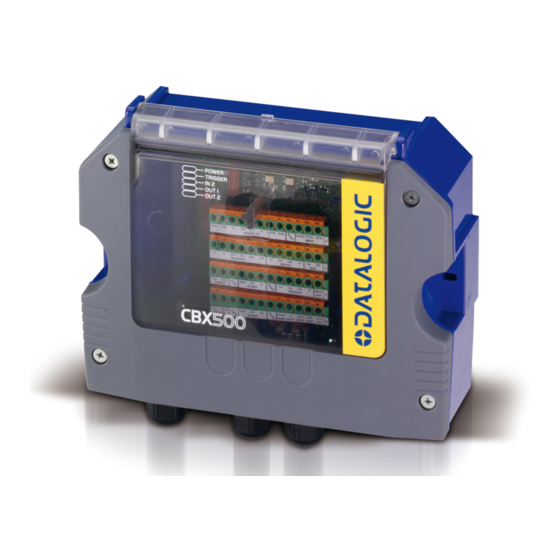
INDICATOR LEDS
There are five Indicator LEDs which signal
power and I/O activity and are visible from the
CBX500 outside cover.
The Power LED is blue when power is correctly
applied to the CBX500 and the power switch is
turned on.
This LED is red if power polarity is incorrect. In
this case the connected reading device and
optional Backup Module are protected.
The remaining four LEDs signal activity on the relative I/O lines. Their meaning depends on
the software configuration of the connected reading device.
CAUTION: If external I/O devices are powered through CBX500 (connected
to +V/-V), they are not protected from polarity inversion.
CBX500 INSTALLATION MANUAL
ON
OFF
Figure 10 – ID-NET™ Termination Resistance Switch
ON
OFF
Figure 11 – RS485 HD Termination Resistance Switch
blue/red
yellow
green
yellow
green
Figure 12 – Indicator LEDs
13
