Cookworks S892 Manual de instrucciones - Página 5
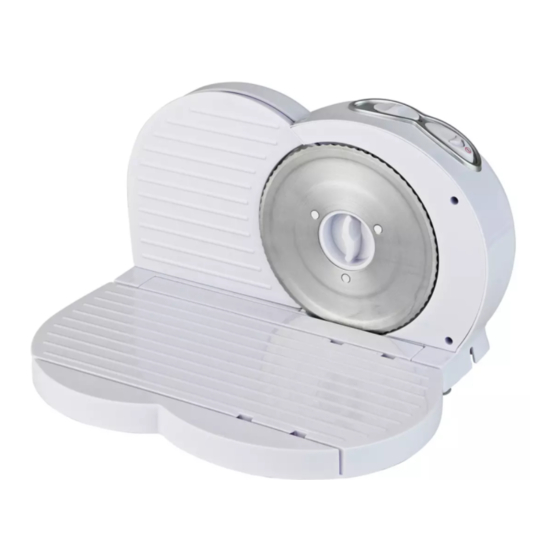
Navegue en línea o descargue pdf Manual de instrucciones para Electrodomésticos de cocina Cookworks S892. Cookworks S892 8 páginas. Food slicer

ASSEMBLY
Before Operating
•
Unplug appliance when not in use and before cleaning.
•
Do not use appliance for uses other than those recommended.
•
To protect against electrical shock, do not immerse cord, plug, motor, motor stand,
motor base, main body or platform in water or any other liquid. Only use the Food
Slicer on a dry, water-free work surface. Always stand on a dry, insulated surface
while using.
•
Avoid contact with moving parts! Never feed food by hand. Always use the
Protective Guide.
•
Do not use the Food Slicer outdoors.
•
The Blade is sharp. Be extremely careful when cleaning blade and when the blade
is spinning during operation.
•
Never use Steel Wool or scouring powder on any part of the Food Slicer.
•
DO NOT MODIFY YOUR PLUG IN ANY WAY. IF YOU HAVE ANY DOUBT. CALL
A QUALIFIED ELECTRICIAN
Food Hygiene
CAUTION: To reduce risk of health hazards; Before assembling the Food Slicer,
thoroughly wipe off all parts with a clean cloth using warm soapy water and a
mild anti-bacterial detergent. In addition, the following parts should be cleaned
in hot soapy water: Protective Guide L , Blade Assembly G and Food Tray K .
After assembling the unit, test the Food Slicer by running several slices of day-
old bread through the Food Slicer to insure that all parts are working properly.
Clean the Food Slicer after every use. Failure to follow all cleaning instructions
and warnings may result in serious illness due to food poisoning.
Assembly
-
Your Food Slicer will require assembly prior to use. It is important that your read
the entire manual to become familiar with the unit BEFORE you set up the Food
Slicer.
-
The Food Slicer must be cleaned, as described above, before the first use and
after all subsequent uses.
7
ASSEMBLY
NOTES:
-
Please read the important safety
instructions before use.
1. Unfold the Platform H from the
Food Slicer A .
See fig. 1.
2. Slot the Food Tray K into the
Platform H .
See fig. 2.
3. Slide the Protective Guide L onto
the Food Tray K .
See fig. 3.
A
fig. 1
K
fig. 2
L
K
H
H
fig. 3
8
