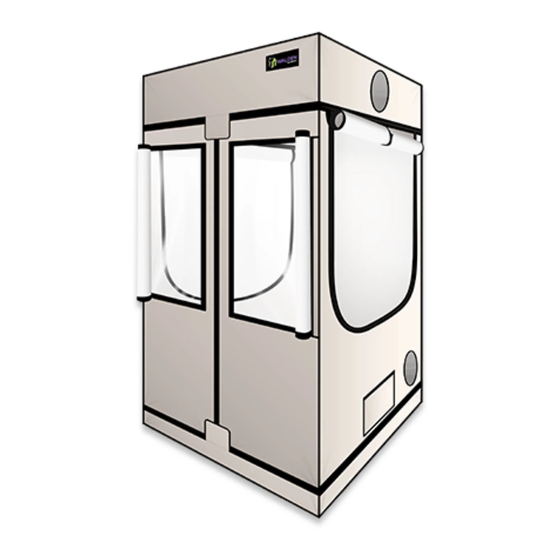
Active Grow Walden Manual de instalación - Página 2
Navegue en línea o descargue pdf Manual de instalación para Tienda Active Grow Walden. Active Grow Walden 3 páginas. Grow tent
También para Active Grow Walden: Manual de instalación (2 páginas), Manual de instalación (2 páginas)

Walden Grow Tent Installation Guide
Tent Assembly Instructions (continued)
x4
6. Slide Corner Connectors x4 on top of D Poles. Make sure tent
poles are seated firmly in Corner Connectors after inserting.
x2
Gx1
8. Create the Lateral Roof Support by sliding the Lateral Roof
Support Clamps x2 onto the ends of G Pole x1. Attach it to the top
of the tent frame in the center. Make sure the open part of the
clamps face the floor when attaching the support.
x24
x6
10. Slide Shelving Clamps x24 onto the ends of each Shelving
Section x6. Once all Shelving Sections are made, attach them to
the Shelving Support Cross Sections already in place on the tent.
Note: Each of the 3 final shelves is made using Shelving Sections
x2.
Lateral Roof Support x1
Active Grow LLC, (206) 792-9799, 12345 Lake City NE #2137, Seattle, WA 98125
www.activegrowled.com
Ex2
Ax2
7. Start building the top of the tent using E Poles x2 and A Poles
x2. Make sure the tent poles are seated firmly in Corner
Connectors after inserting.
x2
Fx1
9. Create the Medial Roof Support by sliding the Medial Roof
Support Clamps x2 onto the ends of F Pole x1. Attach it to the top
of the tent frame below the Lateral Roof Support. Make sure the
open part of the clamps face the floor when attaching the
support.
11. Unzip all zippers before covering the framing with the tent.
Spread the tent on the ground and put the tent frame into the
bottom of the tent covering.
E
A
A
E
Medial Roof Support x1
