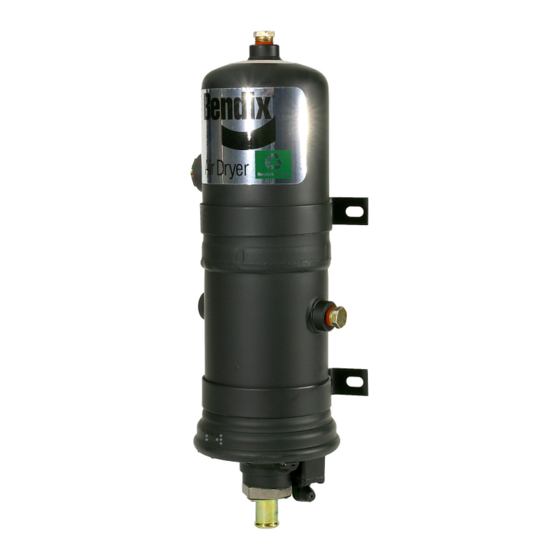
BENDIX AD-2 Manual - Página 5
Navegue en línea o descargue pdf Manual para Deshumidificador BENDIX AD-2. BENDIX AD-2 16 páginas.
También para BENDIX AD-2: Datos del servicio (16 páginas)

A. An outside air source has been used to charge the
system. This air did not pass through the drying
bed.
B. Air usage is exceptionally high and not normal for a
highway vehicle. This may be due to accessory air
demands or some unusual air requirement that does
not allow the compressor to load and unload
(compressing and non-compressing cycle) in a
normal fashion. Check for high air system leakage.
C. The air dryer has been installed in a system that
has been previously used without an air dryer. This
type system will be saturated with moisture and
several weeks of operation may be required to dry it
out.
D. Location of the air dryer is too close to the air
compressor. Refer to "Installation" section.
E. In areas where more than a 30° range of temperature
occurs in one day, small amounts of water can
accumulate in the air brake system due to
condensation. Under these conditions, the presence
of small amounts of moisture is normal and should
not be considered as an indication that the dryer is
not performing properly.
Note also that a small amount of oil in the system
may be normal and should not, in itself, be considered
a reason to replace the desiccant; oil stained
desiccant can often function adequately.
2. Check mounting bolts for tightness.
3. Check the operation of the integral single check valve
in the AD-2
™
air dryer or the "in line" check valve used
with the AD-1
™
air dryer. Build the air system to governor
cut-out and observe the test air gauge installed in the
#1 reservoir. A rapid loss of pressure could indicate a
failed check valve. This can be confirmed by checking
at the purge valve exhaust. (Note: Purge valve will be
FIGURE 5
open when governor cut-out pressure is reached. Allow
two minutes for purge cycle before testing the check
valve.)
4. Check for excessive leakage at the purge valve by
coating the exhaust with a soap solution while the
compressor is loaded. (compressing air)
5. Check the operation of the safety valve by pulling the
exposed stem while the compressor is loaded.
(compressing air) There must be an exhaust of air while
the stem is held and the valve should reseat when the
stem is released.
6. Check all lines and fittings leading to and from the air
dryer for leakage and integrity.
7. Check the operation of the end cover heater and
thermostat assembly during cold weather operation as
follows:
A. Electric Power to the Dryer
With the ignition or engine control "on", check for
power at the dryer's electrical terminal (see Figure
16) with a voltmeter or test light. If there is no voltage,
look for a blown fuse, broken wires, or corrosion in
the vehicle wiring harness.
B. Thermostat and Heater
1. Turn off the ignition switch and cool the end cover
assembly to below 40°F . With an ohmmeter check
the resistance between the electrical terminal and
the aluminum of the end cover (see Figure 16).
This resistance should be 2.0 - 4.0 ohms for a
12 volt end cover, 8.1 -13 ohms for a 24 volt, 60
watt cover, and 4.0 - 7.0 ohms for a 24 volt, 120
watt end cover.
2. Warm the end cover assembly to over 90°F . and
check the resistance as above. This resistance
should exceed 1,000 ohms.
If these resistances are within the limits, the
thermostat and heater are operating properly.
If these resistances are outside the limits,
proceed to Step C to determine the cause.
C. Heater Element
With the ignition or engine control switch "off",
remove the thermostat cover (see Figure 17). With
an ohmmeter check the resistance between the
aluminum of the end cover and the heater post (see
Figure 17). For a 12 volt end cover, the resistance
should be 2.0 - 2.8 ohms. For a 24 volt, 60 watt end
cover, 8.1 - 11.1 ohms, and for a 24 volt, 120 watt
end cover, 4.0 - 4.6 ohms. If the heater resistance
is outside these ranges, a new or remanufactured
end cover should be installed, since the heater
element cannot be serviced.
If the heater resistance is within the limits the
thermostat should be replaced (Kit Number 102637)
or a new or remanufactured end cover installed.
5
