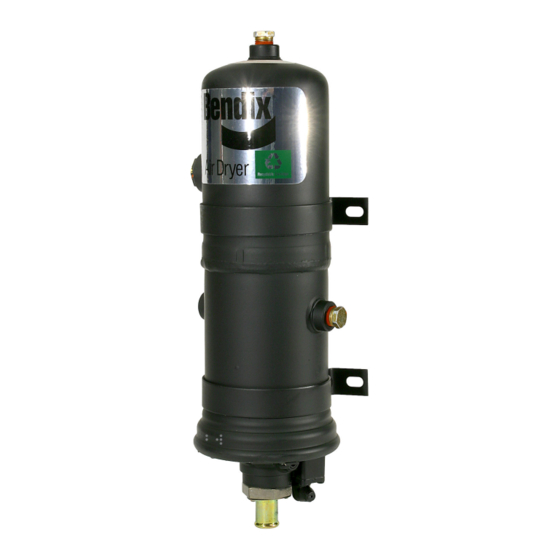
BENDIX AD-2 AIR DRYER Manual - Página 11
Navegue en línea o descargue pdf Manual para Deshumidificador BENDIX AD-2 AIR DRYER. BENDIX AD-2 AIR DRYER 16 páginas.

15. Install the thermostat metal side down in the end cover
bore and secure it in place using the retaining clip or
shield and the two screws.
16. Lubricate and install the o-rings on the plunger and cap
nut.
17. Lubricate the plunger bore and install the spring and
plunger (through the cap nut end).
18. Install the valve on the plunger, making certain the
chamfered end of the valve is in contact with the metal
seat of the body.
19. Using the screwdriver held in the vise, as described in
Steps 4 & 5, compress the plunger into the bore while
installing and tightening the nut.
20. Install the cap nut and tighten it.
21. Lubricate and install the large diameter o-ring around
the end cover assembly.
REBUILDING THE AD-2
COVER
ASSEMBLY
To remove the end cover assembly from the air dryer follow
steps 1-6 under the section of this manual entitled Removal
of Desiccant Cartridge AD-1
rebuilding the end cover, clean the exterior thoroughly using
a quality commercial solvent.
DISASSEMBLY
1. Remove and discard the large o-ring around the end
cover assembly.
2. Remove the single #6-32 screw securing the exhaust
diaphragm and separate the diaphragm, washer and
screw. Discard the diaphragm.
3. Remove the three #6-32 screws securing the exhaust
cover and remove the exhaust cover.
4. Remove the purge valve assembly, the large hex cap
nut, from the end cover and discard both o-rings around
the cap nut.
5. Using a 7/16" socket wrench and a large screwdriver,
remove the 1/4"-20 hex head cap screw which holds
the assembly together.
6. Separate cap screw, purge valve, purge valve piston
and the piston return spring.
7. Discard the piston o-ring, the purge valve, and the piston
return spring.
8. Wash all remaining parts in a commercial solvent, making
sure all surfaces, bores, ports, and passages are clean
and dry before assembly.
™
AIR DRYER END
™
and AD-2
™
Air Dryer. Before
NOTE: If during the serviceability checks it was determined
that the thermostat was defective, use the following
procedure. It is not necessary to replace this unit
each time the end cover is rebuilt. Use thermostat
kit. (See Figure 17)
9. Remove nut(2), then lockwasher(3), plain washer(4) and
o-ring(5). Discard o-ring and retain other parts.
10. Remove and retain four Phillips head screws(7) and
cover(6).
11. Remove and discard gasket(10).
12. Remove and retain spacer(11).
13. Cut uninsulated thermostat wire at Point B. (Figure 17),
remove and discard thermostat and terminal
assembly(1).
14. Clean remaining wire attached to heater terminal.
15. Clean thermostat "pocket" in end cover(9).
ASSEMBLY
16. Cut uninsulated lead of new thermostat(1) at Point A
(Figure 17).
17. Install thermostat in end cover "pocket" and position
uninsulated leads next to each other.
18. Using a soldering heat sink, clamp uninsula-leads at
Point B and solder leads with straight rosin core solder.
DO NOT USE ACID CORE SOLDER. Clean excess
solder off end cover.
19. Install thermostat terminal(1) in cover(6).
20. Install o-ring(5), washer(4), lockwasher(3) and nut(2).
Torque nut to 20-30 inch pounds.
21. Install spacer(11) over thermostat(1).
22. Install gasket(7) and cover(6) and secure cover to end
cover(9) using screws(7) and lockwashers(8).
23. Torque to 30-40 inch pounds.
24. Test thermostat as follows:
A. At a temperature above 85°F . check resistance
between thermostat terminal(1) and end cover(9).
Resistance should be 200,000 ohms or greater; if
not, check for solder "path" short.
B. Chill entire end cover assembly to 35°F . or below
and check resistance again. Resistance should be
2-15 ohms.
25. Lubricate the piston o-ring and install it on the piston.
26. Lubricate the piston bore.
27. Install the purge piston return spring and piston.
28. Install the purge valve in the large cap nut so that the
rubber portion rests on the metal seat of the cap nut.
29. Secure the valve to the piston using the 1/4"-20 cap
screw and lockwasher and torque to 50 inch pounds.
30. Lubricate and install the two cap nut o-rings.
11
