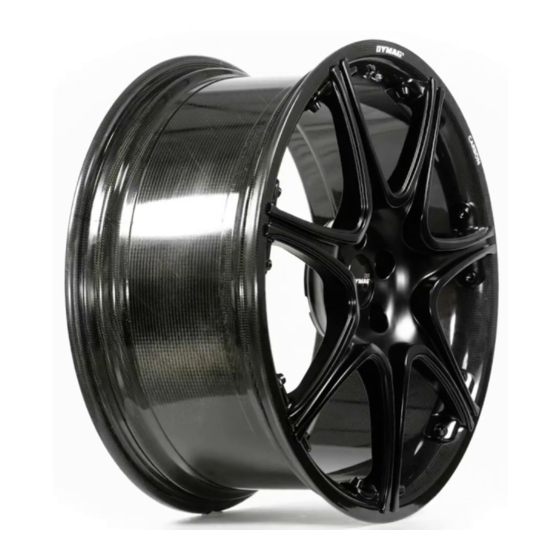
Dymag BOXSTROM Manual del usuario - Página 9
Navegue en línea o descargue pdf Manual del usuario para Accesorios para automóviles Dymag BOXSTROM. Dymag BOXSTROM 11 páginas. Carbon hybrid automotive wheels

DYMAG® BOXSTROM™
CARBON HYBRID AUTOMOTIVE WHEELS
OWNERS GUIDE
14.8.
Balance the tyre/wheel assembly according to the balancing machines
recommended procedures, following ALL safety precautions
14.9.
To reduce tyre wear, road noise and vibration, all four wheels should be balanced
dynamically
14.10. Wheels are checked for lateral and radial run-out before leaving the factory to
minimize balancing problems. Some balancing problems may be remedied by
deflating the tyre and rotating it through approximately 180 degrees on the rim,
re- inflating the tyre and rebalancing
15. WHEEL INSTALLATION
15.1.
Hold the new custom wheel on the vehicle hub and tighten each fastener finger tight
15.2.
Fasteners must be tightened in a crisscross pattern to ensure uniform pressure
and alignment. Apply torque evenly by repeating the crisscross pattern until the
desired torque is reached
15.3.
During installation, gravity causes the wheel to rest upon the highest stud. If the
wheel is clamped down off-centre, it can be dangerous and damaging to your
wheel and tyres
15.4.
A calibrated torque device must be used to achieve the correct torque setting,
as specified by the Original Equipment Manufacturer. If it is not specified in the
vehicle owner's manual, contact the vehicle manufacturer
16. GENERAL NOTES
WARNING: IF YOU ARE IN ANY DOUBT WHATSOEVER REGARDING ANY ASPECT OF
THE INSTALLATION PROCESS, DO NOT INSTALL THE WHEELS.
INSTEAD CONSULT YOUR DEALER OR DYMAG DIRECTLY FOR TECHNICAL SUPPORT
16.1.
Read the owner's manual and warnings in conjunction with these guidelines
16
16.2.
Do not allow the lug nut to bottom out on the stud. If using lug bolts, do not allow
the bolt to bottom out on the mounting surfaces. Either condition is extremely
dangerous and unsafe because the clamping force of the fastener is not being
applied to the wheel. Check each stud individually for these problems as some
lengths may vary
16.3.
Never use fewer fasteners than the wheel and vehicle was designed for. If the
wheel has 5 holes, then use 5 fasteners
16.4.
When placing the wheel on the studs, there may be an apparent looseness of fit
until the fasteners are applied
17.
AFTER INSTALLATION
17.1.
Wheel hub fasteners should be retorqued at approximately 25 miles
17.2.
Retorquing must be carried out any time the wheel hub fasteners are removed
for any reason
17.3.
Routinely check and maintain recommended tyre pressures
www.dymag.com
