Dymo COLORPOP Manual del usuario - Página 6
Navegue en línea o descargue pdf Manual del usuario para Etiquetadora Dymo COLORPOP. Dymo COLORPOP 11 páginas.

Make sure that the tape and ribbon are taut across
2
the mouth of the cassette and that the tape passes
under the label guides.
If necessary, turn the ribbon rewind spool clockwise
to tighten the ribbon.
Ribbon
rewind
spool
Label
guides
Insert the cassette and press firmly until the cassette
3
clicks into place.
Close the label cassette cover.
4
Each time you change the label cassette, you will be
prompted to choose the label width.
To remove the label cassette
Lift the label cartridge door on the back of the printer.
1
Remove the label cassette.
2
Insert a new label cassette as described above.
3
Select the new label width when prompted by the
4
printer.
Using the Printer for the First Time
The first time you turn on the power, you are asked to
select the label width and language. If you are outside the
United States, you may also be asked to set the units of
measure. These selections remain set until you change
them.
You can change these selections using the
To set up the printer
Press
1
Make your selections as prompted and press
2
Each time you change the label cassette, you will be
prompted to choose the label width.
You are now ready to print your first label.
To print a label
Enter text and choose format options to create a
1
custom message.
Press
2
Press the cutter button to cut
3
the label.
Remove the backing from the
4
label to expose the adhesive,
and then stick!
Congratulations! You printed your first label. Continue
reading to learn more about the options available for
creating labels.
Getting to Know the Printer
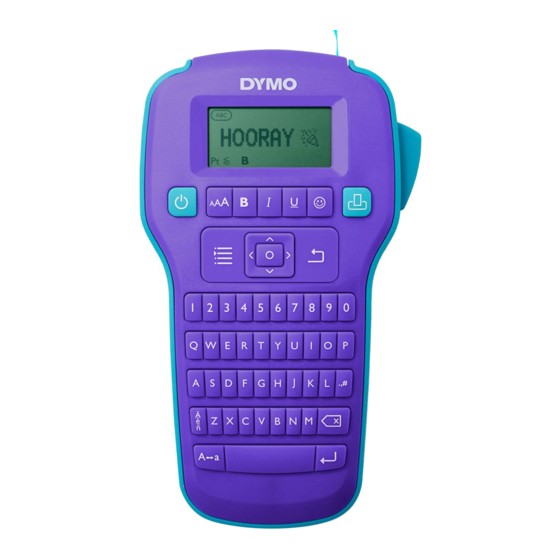
Become familiar with the location of the function keys on
your printer. Refer to Figure 1 on page 2. The following
sections describe each feature in detail.
Power
The
minutes of inactivity, the printer is switched off
automatically.
When the printer is turned off, the current label text and
formatting are remembered and will be displayed when
power to the printer is turned back on.
When the batteries are removed and the optional power
adapter is disconnected, the current label text and
formatting are lost.
LCD Display
With DYMO's exclusive graphical display, most of the
formatting you add is visible instantly.
1 Uppercase
2 Accented characters
3 Font size
Feature indicators along the top and bottom of the LCD
display appear black when a feature or setting is selected.
key.
4
to turn on the printer.
.
key turns the printer on and off. After two
1
3
4
5
4 Bold
5 Italic
6 Underline/Borders
.
Split backing
2
6
