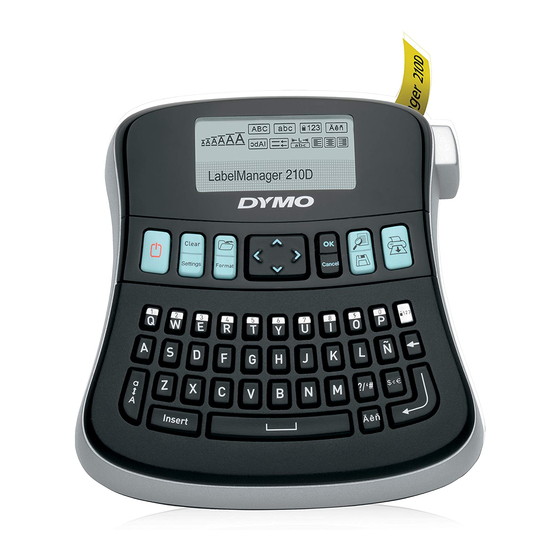
Dymo LabelManager 210D Manual del usuario - Página 6
Navegue en línea o descargue pdf Manual del usuario para Etiquetadora Dymo LabelManager 210D. Dymo LabelManager 210D 13 páginas. Easy-to-use label maker for your desktop
También para Dymo LabelManager 210D: Visión general (12 páginas), Manual rápido (2 páginas)

Getting to Know the Label Maker
Become familiar with the location of the feature and
function keys on your label maker. Refer to Figure 1. The
following sections describe each feature in detail.
Power
The
button turns the power on and off. After two
minutes of no activity, the power is switched off
automatically. The last label created is remembered and
displayed when the power is turned back on. The
previously selected style settings are also restored.
LCD Display
You can enter up to 99 characters and spaces. The
display shows approximately 5 Chinese characters or 13
Latin characters at one time. The number of Latin
characters displayed will vary due to proportional
spacing.
Feature indicators along the top and bottom of the LCD
display appear black when a feature or setting is selected.
1
2
3
14
13
12
11
Latin input mode
1
Symbols/Clip art
2
Format
3
Memory
4
Settings
5
Fixed length
6
Alignment
7
Navigation Keys
You can review and edit your label using the left and right
navigation keys. You can move through menu selections
using all four navigation keys, and then press
a selection.
Input Mode
The
key toggles between two input modes:
Chinese and Latin. The default setting is Chinese input.
Shift
Pressing and holding the
another key, enters the uppercase version of that
character or the secondary character on that key.
CAPS
Pressing the
turns Caps mode on. All characters
entered while Caps mode is turned on will be uppercase.
4
5
6
7
8
10
9
Mirror
8
Font style
9
Boxes/Underline
10
Font size
11
Current line
12
Shift
13
Chinese input mode
14
to make
key and then pressing
NEW
The
key clears the current text and formatting from
the display, creating a new label.
Backspace/Cancel
The
key deletes the character to the left of the cursor.
Menu
The
key displays the Symbols/Clip Art, Format,
Memory, and Settings tabs.
Pressing the
key repeatedly scrolls through the tabs.
Symbols/
Clip Art
Format
Use the
symbols and clip art menu to insert
symbols and clip art on your labels.
Use the
format menu to set fixed label length,
mirror text, or alignment.
Use the
memory menu to open or save labels.
Use the
settings menu to change the language,
label width, and units of measure settings.
Cancel
The
key exits from a menu without making a
selection or cancels an action, such as printing.
Formatting Your Label
You can choose from several format options to enhance
the appearance of your labels.
Changing the Font Size
Several font sizes are available for your labels. The font
size applies to all characters on a label.
The font sizes that you can use depend on the label width
selected and the number of lines.
To change the font size
Press
until the desired font size is displayed.
Adding Font Styles
You can choose from several different font styles:
Normal
Bold
The style you select applies to all characters. Styles can
be used with alphanumeric characters and some
symbols.
Italic and bold styles are not available with 6 and 8 point
font sizes.
To change the font style
Press
until the desired font style is displayed.
4
Memory
Settings
Italic
Vertical
