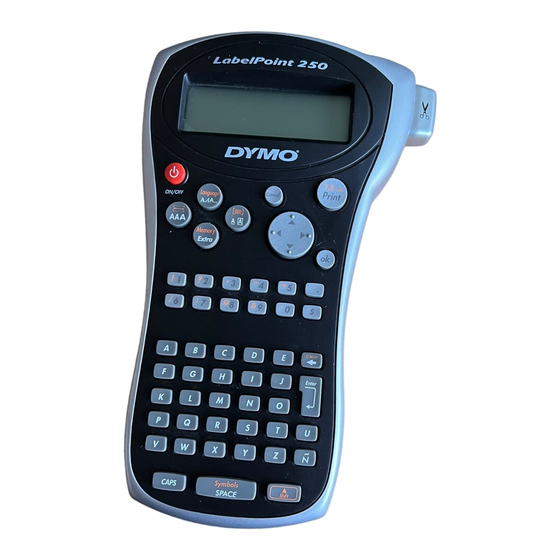
Dymo LabelPoint 250 Manual del usuario - Página 9
Navegue en línea o descargue pdf Manual del usuario para Impresora Dymo LabelPoint 250. Dymo LabelPoint 250 15 páginas. Electronic labelmaker
También para Dymo LabelPoint 250: Manual del usuario (13 páginas), Lista de características (2 páginas)

Serializing Your Labels
You can print a series of labels with the last number
incremented by one number. The number of labels
serialized depends upon the number of copies you
selected to print. Only the last series of numbers
that follows any letter, space, or punctuation will be
serialized. For example, abc123 will print as
abc123, abc124, abc125; and 123-998 will print as
123-998, 123-999, 123-1000, and so on.
To serialize your labels
1. Enter the text for your label.
2. Select the number of labels to print as described
in Printing Multiple Copies on page 8.
3. Select
+
.
1,2...n
Printing a Fixed-Length Label
Normally, the length of the label is determined by
the length of the text entered. However, you may
wish to make a label for a specific purpose that is a
fixed length regardless of the length of the text.
You can specify a fixed length for a label in
0.1" (2 mm) increments between 1.5" (40 mm) and
15.0" (400 mm). The preset fixed length is 4.0"
(100 mm). Any change you make to the fixed-
length setting remains in effect until you change it.
To set the label length
1. Press
+
.
X
2. Select ON to turn on Fixed Length, then
press
.
3. Press the up arrow to increase the length.
4. Press the down arrow to decrease the length.
5. Press
to set the fixed length.
6. After printing the label, repeat step 1 and turn
Fixed Length OFF; otherwise, all subsequent
labels will print with this fixed length.
Previewing Your Label
You can preview the text or format of your label
prior to printing. A two-line label is previewed as a
single-line label.
To preview your label
1. Press
.
2. Select Preview and press
3. Select Text or Format and press
If you select Text, the text of the label scrolls
across the display. If you select Format, the format
selected displays briefly.
Aligning the Text
When you print a fixed length label you can choose
to align the text at the left, center, or right side of
the label. For multi-line labels, all lines of text are
aligned left, center, and right relative to each other.
To align the text
1. Press
+
.
>
2. Select the desired alignment and press
The alignment setting remains active until you reset
the alignment.
Adjusting the Print Contrast
You can adjust the print contrast to fine tune the
print quality of your label.
To set the contrast
1. Press
.
2. Select Set Contrast and press
3. Select a contrast setting and press
.
.
.
.
.
9
