Hi Resolution Z Series Manual del usuario - Página 10
Navegue en línea o descargue pdf Manual del usuario para Cámara digital Hi Resolution Z Series. Hi Resolution Z Series 12 páginas. Tdn wdr dnr
Manuale di Installazione
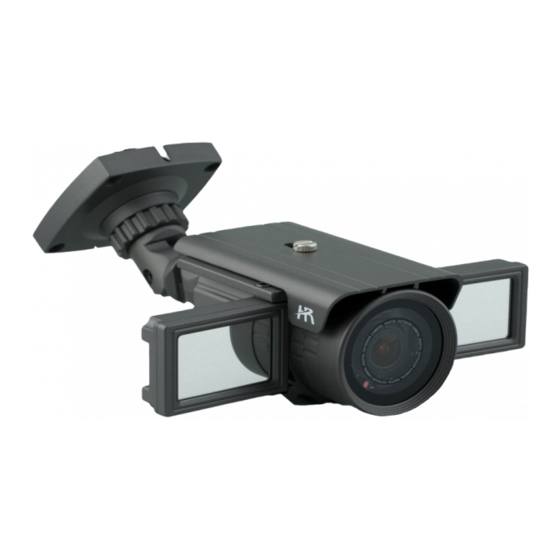
HRT0550-0922-2812WDR
TITOLO CAM
ABCDEFGHIJ K L M
NOPQRSTUVWXYZ
A b c d e f g h i j k l m
n o p q r s t u v w x y z
-.
0 1 2 3 4 5678 9
← →
CNC POS FIN
TEST-1...............
SYNC
Il sincronismo per le telecamere alimentate a 12VDC è sempre interno.
set to internal.
MOTION DET
Se impostato su ON attiva la rilevazione di movimento su 8 aree, da impostare premendo
rilevazione di movimento si visualizzerà nella parte bassa dell'immagine la scritta lampeggiante "Motion Detected"
(Può essere disabilitato impostando su OFF)
If it is set to ON the camera detects motion of objects in 8 areas; the areas can be set pressing the
screen will display "Motion Detected" when motion is detected( It can be disabled setting to OFF)
MOTION DET
► 1.Sensibilità
2.Modo AREA
3.Sel POS
Ι
4.YPOS ----
-----
Ι
5.XPOS------
-----
6.Imposta
↵
7.Ritorno
PRIVACY
Se impostato su ON attiva il mascheramento visivo di alcune aree. Si possono impostare 8 aree premendo SET-
UP.Può essere disabilitato impostando su OFF).
If it is set to ON the camera activates the mask of private areas; the areas can be set pressing the SET-UP button (It can be
disabled setting to OFF)
PRIVACY
► 1.Sel AREA
2.Modo AREA
3.Colore MASK
Ι
4.Trasp ----
-----
↵
5.Ritorno
DIS
Per attivare / disattivare lo stabilizzatore di immagine.
REG. COM
Funzione non abilitata-
Disabled function
LINGUA-LANGUAGE
Premere
o
per selezionare la lingua-
RESET
Ripristina le impostazioni originali di fabbrica.
pag.
10
selezionare il carattere con i cursori
•
← →
← →
← →
← →
Premere SET-UP per scegliere la posizione del carattere
•
CNC: Premere SET-UP per cancellare
•
Selezionando POS si visualizza il nome creato e si può variare la posizione
•
con i cursori.
FIN: Premere SET-UP per uscire da questo menu.
•
select the character with the arrows
•
← →
← →
← →
← →
Press SET-UP button to select character position.
•
CNC: Press SET-UP button to clear the name field.
•
POS displays created camera name on the screen, and you can modify the
•
position with the arrows.
•
FIN: Press SET-UP to exit
Sensibilità area: Selezionare l'area da impostare- Select up areas.
•
odo area: Attiva o disattiva l' area selezionata-
•
M
AREA
area
ON
Sel area: Selezionare l'angolo da spostare.-
•
L-TOP
YPOS: impostamento verticale dell'angolo selezionato-
•
8
vertical axis
XPOS: impostamento orizzontale dell' angolo selezionato-
•
14
horizontal axis.
AREA
Imposta area: Visualizzare le modifiche effettuate.-
•
Sel area: selezionare l'area da impostare-
•
Modo area: attiva o disattiva l' area selezionata. Premendo
•
AREA 1
aprirà un sottomenu con il quale scegliere le dimensioni dell' area
↵
ON
turn on / off the selected area
VERDE
Colore Mask: tonalità delle aree:verde, grigio, bianco, nero, blu,
•
rosso.-
2
Trasp: imposta il livello di trasparenza del colore scelto -
•
transparency of selected area.
You can use
Reset the device to the factory settings.
The synchronization for 12VDC cameras is always
Set the greytone of areas:red, blue, grey, white, black, green.
Turn on / off the image stabilizer.
or
key to select language.
User Manual
HRT0550-0922-2812WDR
e
e confermare con SET-UP.
and
.
and press SET-UP button.
e
and
.
.button. The
turn on / off the selected
Determines area to de used.
Determines the
Determines the
Display the modification
select the area to set
SET-UP
set the
www.hrcctv.com
.In caso di
si
-
.