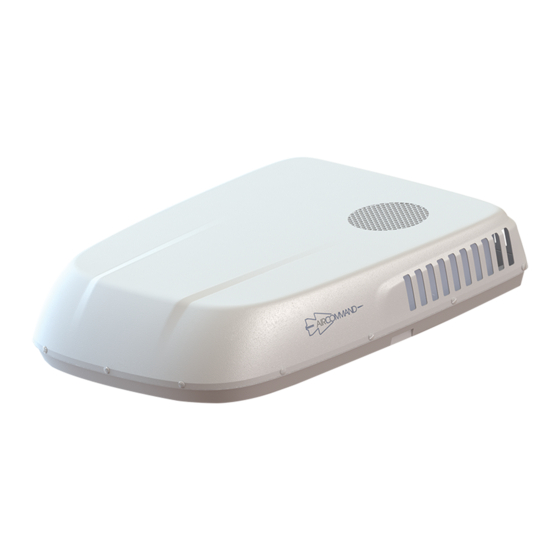
Aircommand IBIS 3 Manual de instrucciones - Página 12
Navegue en línea o descargue pdf Manual de instrucciones para Aire acondicionado Aircommand IBIS 3. Aircommand IBIS 3 19 páginas.

Ibis 3 Owners Guide
Note: In heating mode the fan will not begin blowing
air until the inside coil has reached a temperature of at
least 30⁰C. This is to prevent cold draughts. Fan speed
will increase to the set speed as the coil temperature
increases.
Press ON/OFF button once more to turn the unit
off.
Commission check list
Unit beeps when remote buttons are pressed
Fan runs and air volume changes with speed
Cooling mode produces cool air
Heating mode produces warm air
ON / OFF button turns the unit on & off
COMMISSION IS NOW COMPLETE
MAINTENANCE
1. Filter
The filter must be cleaned periodically to ensure that it
does not become clogged with dust and other
particles. The state of the filter can be ascertained
from its appearance, if it appears dirty or clogged then
it should be cleaned.
A blocked filter will impair the cooling & heating
performance of the unit significantly.
To clean the filter, first remove it by pushing both tabs
on the side to release.
Figure 15
down and out.
The filter can be washed with warm soapy water. Care
must be taken to avoid ripping the fabric. The filter
must be completely dry before reinstallation.
Replace by reversing the above process this process.
WARNING
Airborne particles can pose a health risk,
particularly to young children and the elderly.
Ensure that filters are cleaned in a safe and well
ventilated area
The filter should be cleaned every four weeks or more
when in use. Prolonged use, higher concentrations of
airborne particles and various other factors may result
in the filters needing to be cleaned more often.
Figure 16
. Swing the filter
Figure 14
&
.
Revision V1
Replacement return air filters can be ordered directly
from Aircommand. (Part No. 8102044)
2. Remote control
The remote control can be cleaned with a damp cloth.
If the remote will not be used for a period of time it is
recommended that the batteries are removed & stored
separately. Remove the cover to the battery
compartment by sliding in direction shown below
Figure 23
. Replace with 2 x AAA batteries. Check
battery polarity. Replace cover.
Figure 23 - Remote control batteries
3. Hold Down bolts
Aircommand suggests that the 4 hold down bolts
attaching the unit to the roof are initially checked for
tightness within the first 3 months of installation, and
thereafter every 12 months if the van is in constant
use. The recommended bolt torque is 12-14 Nm.
4. Storage
The air conditioner should be run on a routine basis to
ensure the components remain in working order.
If the van is in storage or is to remain unoccupied for
an extended length of time it is recommended that the
air conditioner is allowed to run uninterrupted for 20-
30min once every six months.
5. Warranty Claims
The unit comes with a one year manufacturer's
warranty from date of purchase. It is IMPORTANT that
you read and understand the conditions of the
warranty agreement which are included with the unit.
If you have a claim please contact Aircommand
directly on
(08) 8243 0628 or email
[email protected], please have your unit
serial number ready. Refer to
location of the unit's serial number.
Figure 24 - Serial number location
(08) 8345 8444, alternatively you can fax
Figure 24
Page 12 of 19
for the
