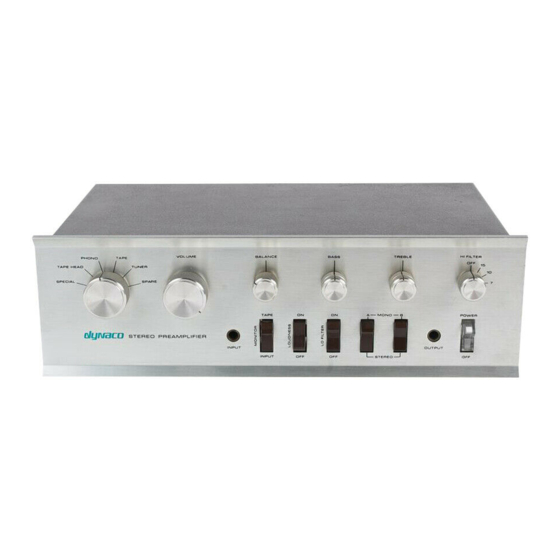
DYNACO PAT-4 Manual de montaje - Página 13
Navegue en línea o descargue pdf Manual de montaje para Amplificador DYNACO PAT-4. DYNACO PAT-4 16 páginas. Power supply
También para DYNACO PAT-4: Manual de montaje (20 páginas)

Install the New Power Supply
1. Attach the mounting brackets to the assembled power supply PCB using two 6-
32x1/4" sems screws (sems screws have the captive lock washer). Make sure that
they're both straight and tight.
2. Use the old mounting holes from C29 to fasten the brackets to the chassis. Figure
5, on the next page, may also clarify this bit of the assembly. Use the provided
pair of 6-32x1/4" sems screws.
Connect the New Power Supply
All of the power connections are made in the same fashion:
1. Strip ¼" of insulation off each of the wires to be connected.
2. Insert the wire from the solder side of the board, and solder it on the component
side of the board.
Twist the insulated portions of the three transformer wires together (X1, X2, and CT).
This minimizes the hum that these wires will radiate. Using the technique described
above, make the connections listed in the following table:
From
First Transformer red wire
Second transformer red wire
Transformer Center tap wire (red/yellow)
Rear PC-16 eyelet 12
Front PC-16 eyelet 12
Rear PC-16 short gnd wire (eyelet 11)
Font PC-16 short gnd wire (eyelet 11)
Rear PC-16 eyelet 4
Front PC-16 eyelet 4
Rear PC-16 long gnd wire (eyelet 3)
Front PC-16 long gnd wire (eyelet 3)
Note that the N17PV eyelets and the grounds to the left of them will be unused.
Figure 4-Mounting the power supply to the PAT-4
Page 13 of 16
Wire
To Power Supply Board
label
X1
X1 eyelet
X2
X2 eyelet
CT
Bottom CT eyelet
38V
Bottom eyelet 38V
38V
Top eyelet 38V
None
Bottom gnd, next to 38V
None
Top gnd, next to 38V
P17P5
Bottom eyelet P17P5
P17P5
Top eyelet P17P5
None
Bottom gnd, next to P17P5V
None
Top gnd, next to P17P5V
Done?
()
